


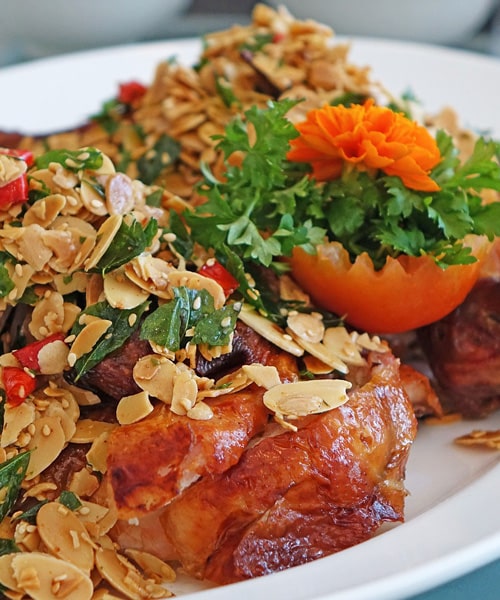
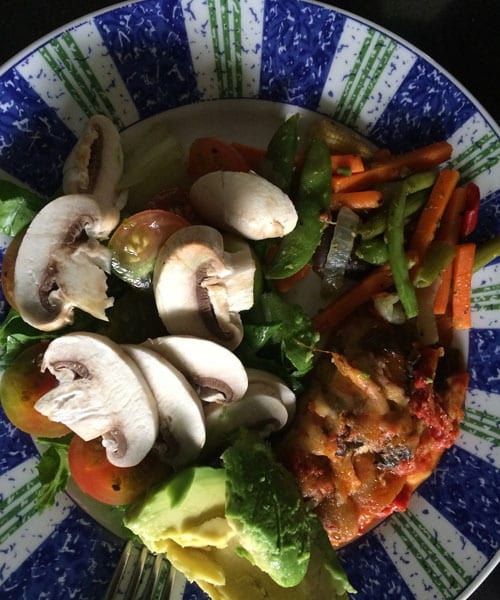
Chicken is a meat that you can use with pretty much any type of main dish because it is quite versatile in nature. Whether it’s part of a nice warm curry, a salad or chucked into a cold pasta based dish, chicken really is one of the tastiest meats that you can have. Aside from it being fairly easy to cook and being rather tasty, it also has many health benefits and if you eat it as part of a balanced diet you gain a lot from its high source of protein.
Today though we aren’t looking at the health benefits of chicken, instead we want to look at how you can roast the perfect chicken so that all your dinner guests will be asking you how you cooked such an amazing chicken. Therefore we are going to take your through the cooking methods for a roast chicken allowing you to follow our easy step-by-step instructions, and believe it or not it’s a lot more easier than you are probably thinking right now.
So before you start any cooking, read on…
One of the best ways to cook chicken is to roast it as you get so many different flavours from the white meat when cooked in this manner. Roasting a chicken all starts with the preparation, and once cooked thoroughly you can add this to a Sunday dinner, pasta dishes, salads and even soups.
To begin with you need to preheat your oven to a high heat setting, usually 450F is the best setting to use and then you want to use the middle of oven to cook the chicken.
Get everything ready on the kitchen side that you are going to need:
If you haven’t removed the giblets yet then this is the first thing you are going to want to do. Giblets shouldn’t just be thrown away though as they can help make gravy should you need it for your intended dish.
| Preview | Product | |
|---|---|---|
|
Granite Ware 13-inch oval roaster with Lid. Enameled steel design to... | Buy on Amazon |

|
ThermoPro TP-03B Digital Meat Thermometer for Cooking Kitchen Food... | Buy on Amazon |
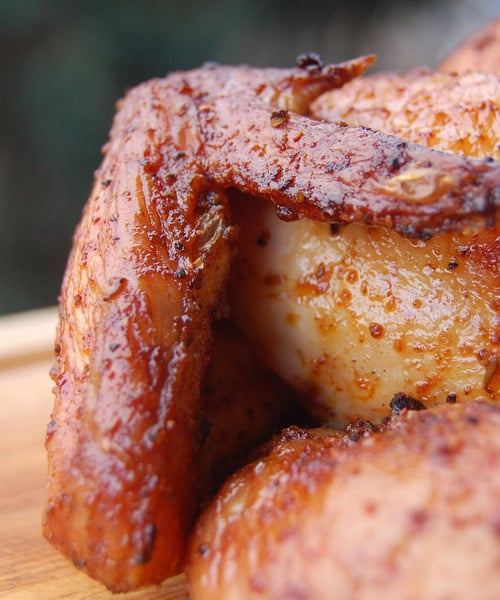
Rub the outside of the chicken with some extra virgin olive oil, making sure that the drumsticks and breast are well coated in oil. What this will result in is crispy golden skin. Now you have the chicken covered season with the salt and pepper and chopped garlic (you can put the garlic cloves inside the chicken). Cut the lemon into segments and then place these inside the chicken as well, this will just add a nice subtle flavour. At the end of the cooking process you can also use the garlic to add to boiled potatoes or you can roast some potatoes with the garlic cloves to give them a great taste.
Depending on the size of the chicken will vary its cooking time, but you should be able to find instructions on the packaging. Lower the temperature to about 400F now, and then put the chicken into the roasting dish and slide that onto the middle rack of the oven.
To give you an idea of when it is cooked you can use a thermometer in the thickest part of the chicken, and if the temperature reads 165F and the juices are running clear then you are finished.
When cooked always make sure that you leave the chicken on the side for a good 15 minutes, this will allow the chicken to rest. This is the ideal time to prepare the rest of your dish (whether you need to make gravy, cook vegetables or boil up some pasta).
After the 15 minutes has passed you can now start to carve up the chicken, don’t just slam your knife in any old place. Look for the breasts, thighs, and drumsticks and carve these off first. Some people tend to like nibbling on the wings so you can twist and break these off.
You should now have a carcass in front of you but don’t stop there as you can salvage plenty of other meat from the bones, and this meat will usually keep for a good 5 days in the fridge and as long as 3 months if you put it in the freezer straight away.
Note: You don’t have to use garlic or lemons as part of the seasoning, other herbs can be used to your required taste, such as Sage which is the ideal herb of choice to combine with roasted chicken. If you want that golden bronze crispy skin then you must remember to cover the chicken in oil, but don’t worry about going overboard here as it will give it that great texture.

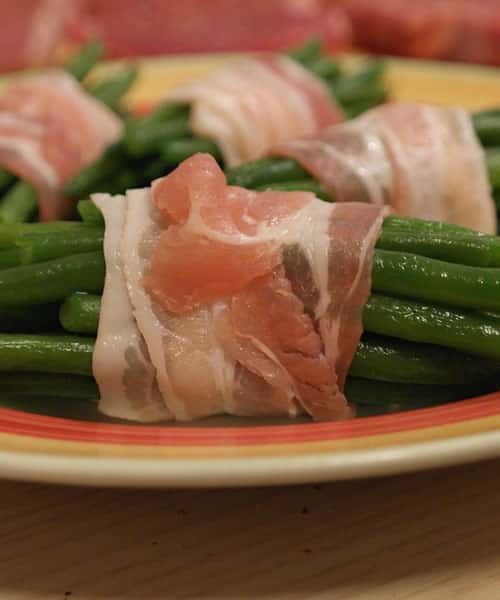
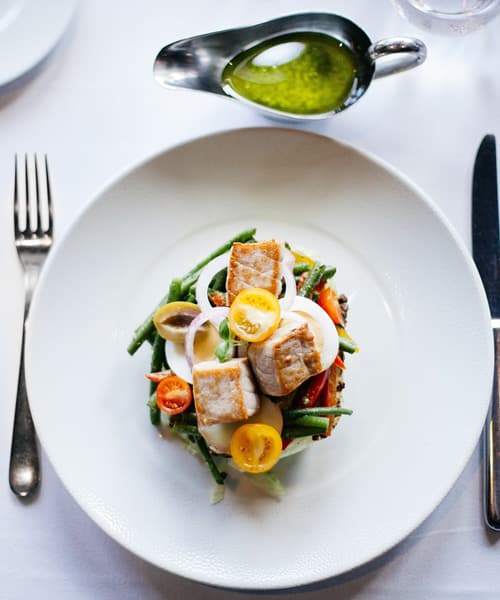
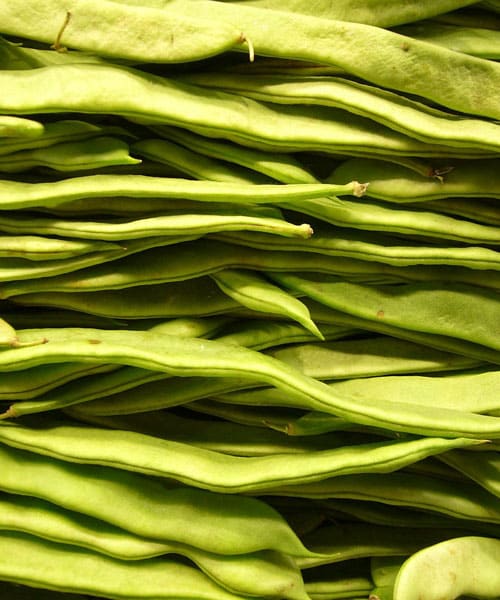
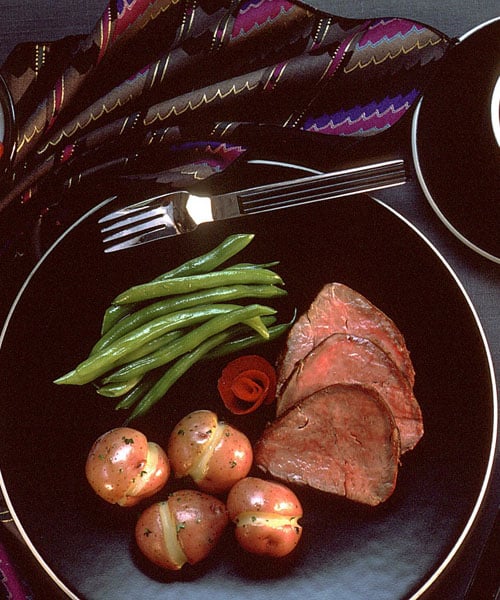
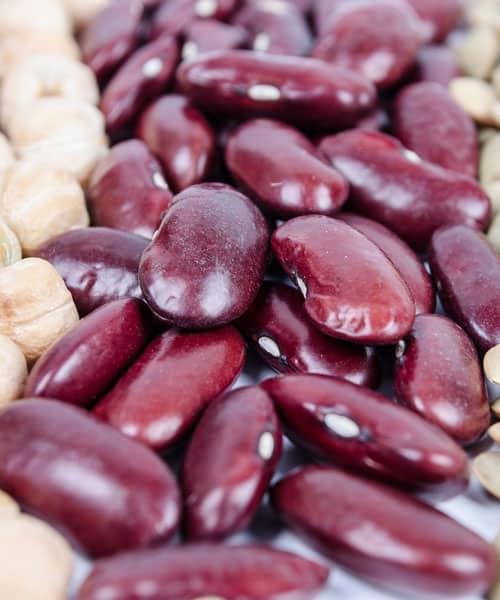
Green beans are a wonderful tasting vegetable even when they are cooked on their own, as they have a fresh and crunchy taste that can complement many different meal types, from roast dinners, to salads and even with pasta based dishes.
The way we cook green beans can also vary, and each way brings out different flavours and aromas that will leave any cook eager to taste the final result.
In this article we wanted to look at not just the different ways we can cook green beans but we also want to check out some recipes that you can use them in, so when you go away after reading this you will be geared up to create something special in your kitchen.
Get your notebooks at the ready as we explore the world of the green bean.
A little bit of preparation is needed before you cut up a green bean and then begin cooking it. Firstly, you will want to wash the green beans under cold water to remove any dirt, or grit that may be holding onto the bean from outside.
Once you have done this you need to remove each end with a knife and then run a peeler down each side to remove the tough edging. This process is optional but you may find the edges to be slightly tougher to eat.
The main way we cook green beans is to boil them as this is the fastest way to cook them and it does bring out a lot of flavour. Talking about flavour you will want to fill a large pot up with water and then season the water with some salt and pepper.
Turn up the heat to a medium-high level and then let the water come to a boil so you can add the green beans. Now, it’s your choice to whether you want to cook them as a whole piece or whether you want to chop them up to cook, most people tend to leave them as whole.
Let the beans simmer on a low heat for around 4 minutes which will leave them in a tender but a nice crispy state, locking in all those important nutrients that are good for your body’s health. Once the 4 minutes is up drain the beans and add a bit of salt and pepper again if you desire and then serve them immediately, don’t let them go cold.
The next option is becoming more and more popular as steaming vegetables tends to leave a lot of nutrients in the vegetable itself, where boiling in water tends to lose more. If you have a steamer unit at home then you will already know how this functions and you just need to cook the green beans in the same manner as any other vegetable that you use it for.
Just set the timer to about 2 minutes for this.
As an alternative to the steamer machine you can get the same results by using a pan full of boiling water, then putting a basket over the pan (making sure that the water doesn’t touch the bottom of the basket), and then placing the green beans in the basket which will then be covered by a lid to keep in the steam.
Again, a 2 minute period should be just enough to allow the beans to go tender but still retain that crisp bite when you come to eating them.
Once cooked remove them from the heat and then season them with your favourite herbs before serving them up to your guests or eating them yourself if you are doing this as a snack or meal for one.

Microwaves and cooking never get mentioned much but there is absolutely nothing wrong with using a microwave to cook some foods in, so if you have one which most people do then put it to good use as it’s not just there to warm things up in.
Add your green beans to a microwavable bowl and then cover them with enough water so that all the beans are well submerged. Next you will need to grab some cling film and then cover the top of the bowl so that the steam is locked inside when the water starts to boil in the microwave.
Place the bowl in the microwave for about 3 minutes and then let the bowl stand for a minute. Be careful when you come to unwrapping the cling film as the steam will escape quickly and you may burn yourself. Pierce the cling film first to let some steam escape and then peel back the cling film.
Finally you can repeat the season and serving process.

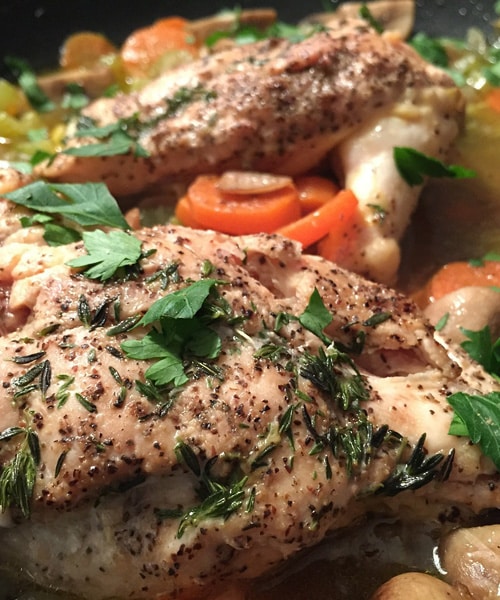
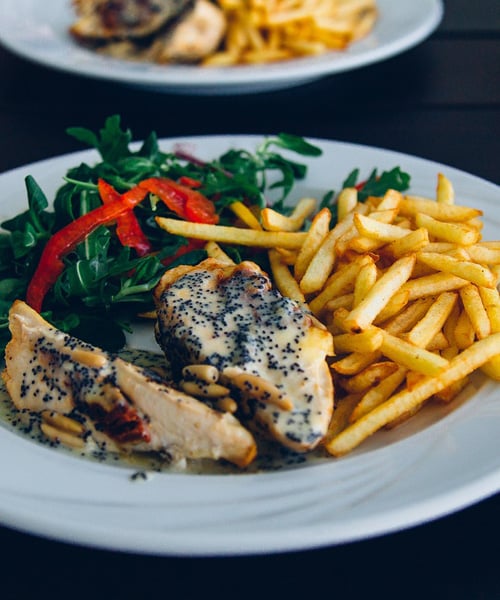
We have spoken about the ways to cook a whole roast chicken recently, and now we wanted to expand that article and look at the different ways that you can cook a chicken breast. There are a lot of parts to a whole chicken that can be eaten but the tastiest area and the tenderest is always going to be the breast of a chicken.
The chicken breast can either be cut up and chucked into rice dishes, salad dishes, pasta dishes or left un-cut and used as a part of a healthy dinner with potatoes and vegetables. It all comes down to personal preferences and tastes at the end of the day.
However, there are also many marinades and seasonings that can be used with chicken breasts. From Jamaican marinades, breadcrumb coatings and general herbs such as Sage or Thyme all can make for a great, but different type of tasting chicken.
In today’s piece we are going to look closer at some of the more popular ways of cooking a chicken breast, and all breasts should be cooked from fresh if you are going to benefit from the wonderful tastes and textures of the chicken.
There are two ways to go about this method the first is to use a heavy-based griddle pan, usually the cast-iron ones are ideal for this job but other lighter versions should give a near-enough similar result to the chicken. The second way is to simply use your standard frying pan, which will also cook the chicken for you.
The only thing you need to keep an eye on when it comes to cooking chicken in this manner is that you make sure it is thoroughly cooked right the way through. If you happen to have a thick chicken breast then our advice is to use one of the other methods we are going to list below, or you will need to cut it down in size to fillets.
Start with preparing your chicken, so get your herbs and oil at the ready. Pour into the griddle a few teaspoons of extra virgin olive oil and then turn the heat up until the oil starts to separate (this is the key to the oil being hot enough to cook in). Now cover your chicken with the herbs of your choice, whether that’s finely chopped garlic, salt and pepper or herbs, lemon juice or chilli flakes. Lower these into the griddle pan and then cook on a medium heat making sure that each side is thoroughly cooked.
By using a griddle pan you will also notice that you get those nice chargrilled lines on the chicken which provides good presentation if you are cooking for guests.
Most people tend to use this option as a way to cook chicken purely because most are worried about the food poisoning that you can get off undercooked chicken. Therefore, if your chicken is too thick or you have doubts on cooking in a pan then the next step is to simply place the chicken in a preheated oven.
The preparation is exactly the same as it was if you were to griddle the chicken so you just need to add your herbs, seasonings, or flavourings to the chicken, the extra addition to oven cooking is that you can also marinade the chicken in a roasting dish which you can’t do on a griddle.
Usually a chicken cooked from fresh will take around 30 minutes, again depending on the overall size of the breast. Once cooked take the chicken out and leave it on the side for roughly 10 minutes to allow the juices to be absorbed making the chicken breast tender and moist.
Finally there is another way we can cook a chicken breast and that is simply to boil it. Fill up a large pan with boiling water and turn the heat up until you get a rolling boil on the go, don’t forget to add some salt to the water. Next crush in a chicken stock cube to give the water some flavour and to help with the taste of the boiled chicken once it has been cooking in the mix.
Add your chicken breasts into the pan and let them cook for a good 30-40 minutes until the juices run clear when you penetrate the chicken with a knife. If you need more time simply add the chicken breasts back into the pan for a further 5 minutes and just keep checking until they are cooked.
Take out the chicken once you are happy that it is thoroughly cooked and leave it to rest on the side. What you will find from this particular cooking method is that the chicken is very tender and moist as it has been cooked using boiling water rather than heat.

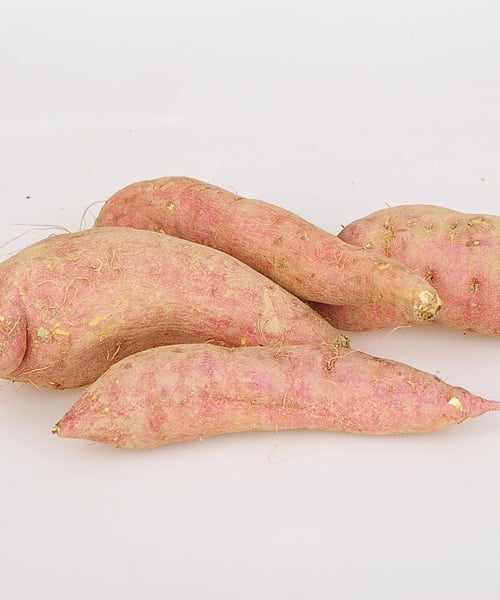
Sweet potatoes are a vegetable that not a lot of us tend to eat but if you don’t like your normal potatoes then it’s worth giving these a go as they taste different. Even if you don’t like normal potatoes it’s still very much worth trying these out as they are actually healthier and sweeter tasting than you normal potatoes. Because of this, they can also be added to many different dishes and cooked in a variety of different ways which we are going to look at today.
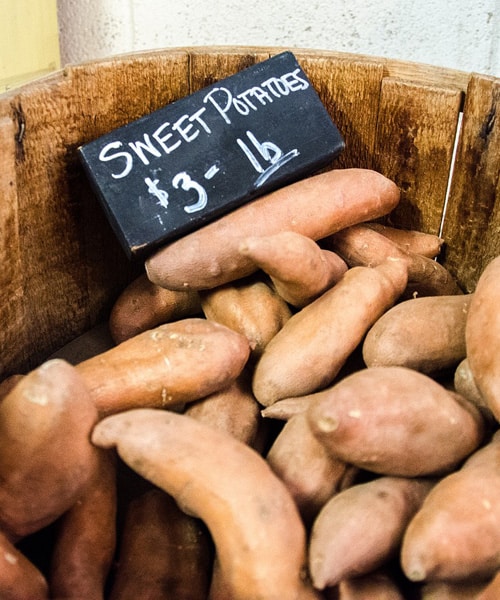
Firstly you will need to gather a few ingredients together to get the best from these oven baked sweet potatoes. The first thing you will need is the sweet potatoes themselves and you get these for a decent price at any local supermarket or fruit and vegetable store.
For this we are going to take 8 sweet potatoes which covers around 2 servings.
Then you will need to grab some seasonings, usually just pepper and salt are needed here, along with 8 tablespoons of butter to give some taste to them.
Before you begin to cook the potatoes you will want to set the oven to 400F and preheat it before adding the potatoes. Line a baking tray with baking paper, foil or butter/oil so the sweet potatoes don’t stick to the tray.
Now wash the potatoes under cold water and remove any dirt or grit from the skin as we are going to be leaving the skin on them for nutritional benefits. You can either use your hand or a vegetable brush to do this.

Once you have finished with that step make several piercings into the sides of each potato you about to cook, like you would with a jacket potato. Take a fork and just make several puncture marks to allow the heat to cook them quicker.
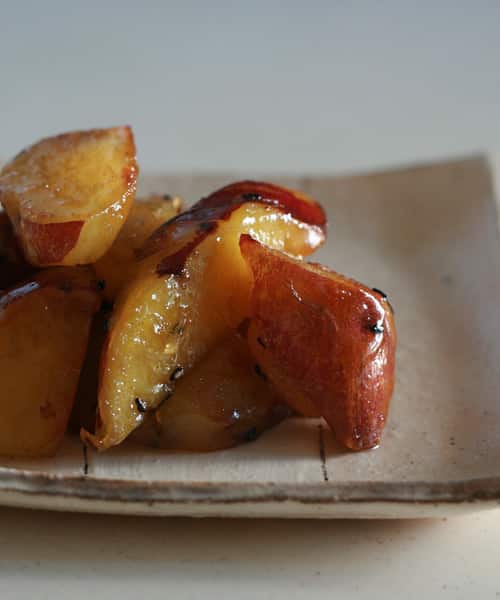
Place them into the oven and leave the temperature at 400F, cook them for around 45 minutes or until they are tender. Once cooked take them from the oven and let them rest for 5 minutes before you cut them in half and then add your seasonings and butter to the top of them. This will make for a delicious snack for two people.
The second way of cooking them is a faster way that the oven but the process for preparation is just the same. You will need exactly the same ingredients so keep hold of your pepper and salt, and have 8 tablespoons of butter ready to add to the tops of the sweet potatoes once they have cooked. The butter will melt into the sweet potato and blend with the salt and pepper giving a mouth-watering taste.
Wash your potatoes in cold water to remove the dirt and grit, and use a wire brush or vegetable brush to get to the tricky parts. Pierce them in the same way as the oven method, but this time instead of preparing a baking tray and foil we are going to use the microwave.
Its important top place the sweet potatoes into a microwave safe dish, and only put them in two at a time.
The real benefit to microwave cooking is simply that it takes much less time compared to oven cooking but you want necessarily get the same quality of taste. Usually two sweet potatoes will take roughly 10 minutes to cook through, and once cooked you can add your seasoning and serve up the potatoes.
The final method in our selection of three ways to cook sweet potatoes is to mash them up, to do this you will need to peel the potatoes first and add some extra ingredients to your collection. You will need the usual salt and pepper, but you will also need 60ml of milk, 80ml of sour cream and slightly more butter (around 80ml).
The best way to make mash sweet potato is to boil them, and the quickest way to do this is to peel all 8 potatoes and then chop them into cubes to reduce cooking time. Add them to a large saucepan of boiling water and cook them until tender (10 minutes).
Once cooked you need to drain the water from the sweet potatoes using a colander and then begin adding the butter, milk and sour cream to the mix. Now use a fork or potato masher to start breaking down the potatoes until the mixture becomes smooth and takes on that mashed form.
Finally you can add the pepper and salt and blend it all together thoroughly so the mixture becomes creamy. As an optional extra you can return the pot to the oven and cook them for a further ten minutes to return that lost heat that would have disappeared when you added the butter and cream.

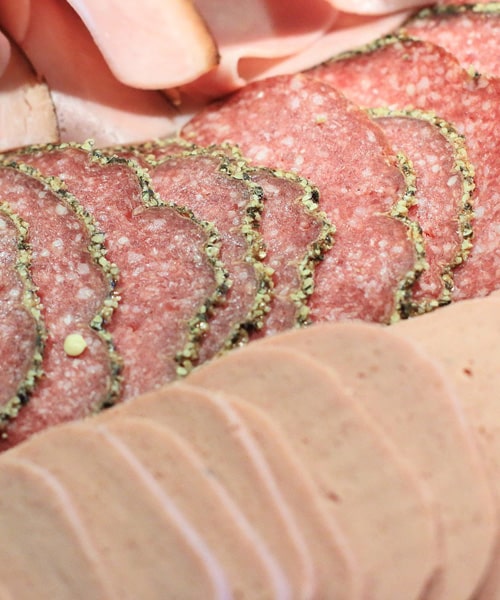
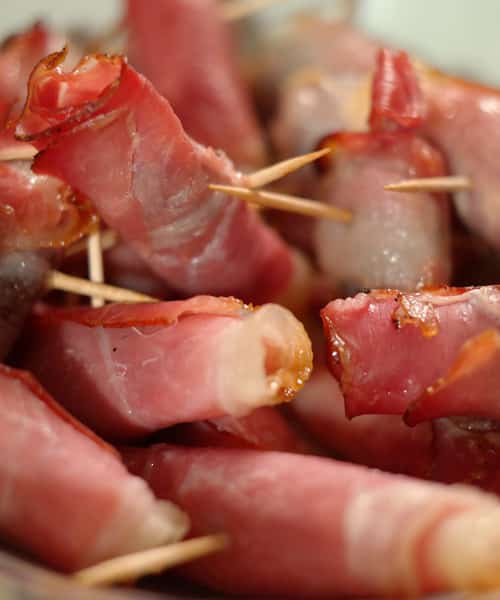
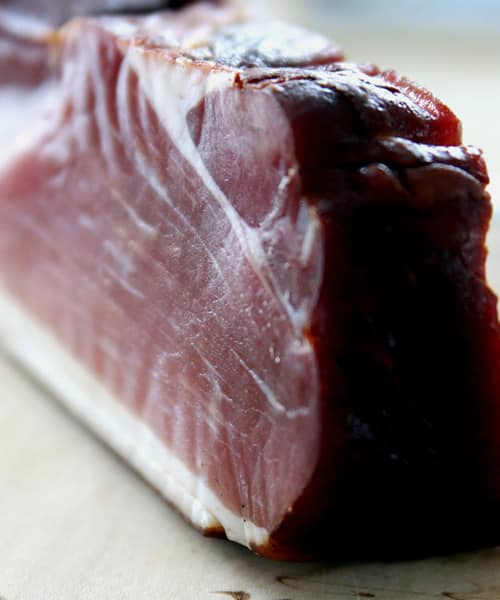
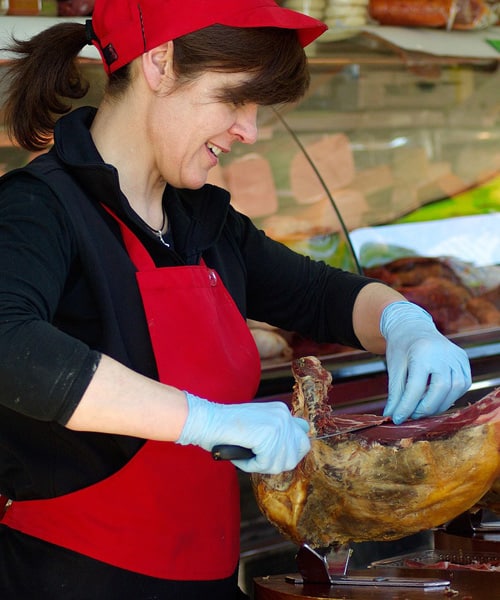
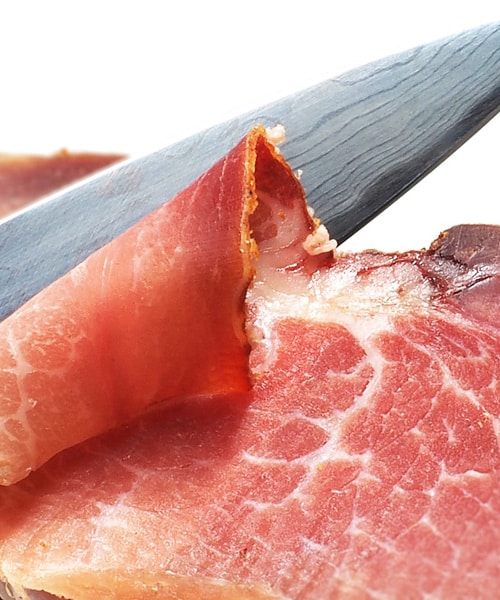
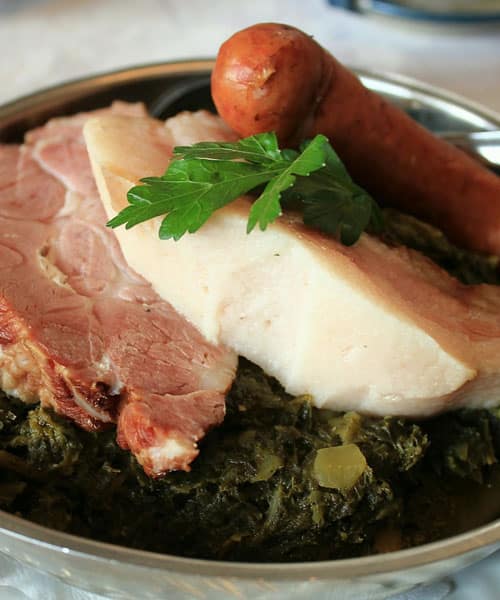
Ham is a great tasting meat and there is so much that you can do with a ham joint once you have cooked it. Whether you are looking to add it to pasta dishes, rice dishes, throwing it in a salad, adding chips and peas to it or having it as part of a nice Sunday roast dinner, the possibilities really are endless.
What most people tend to make mistakes on when it comes to a big ham joint is overcooking it, and what generally happens then is the meat becomes tough, dry and very chewy. What you want to do is cook it to a level where the meat is juicy and tender. Our rule of thumb is that is it makes your mouth water when you take a bite, then you have done it right!
You are probably thinking now isn’t a cooked ham, essentially just gammon? But you would be wrong as gammon is what we refer to as the raw meat, where ham is when the meat has been cooked.
Firstly we want to do a few basic things before we begin seasoning the gammon and cooking it, the first is to soak the gammon in water to remove any impurities such as salts. Once you have done this you will need to know the weight of the gammon so that you know just how long to cook it for and when to take it out of the oven.
Now set your oven to the 450F mark so you can preheat it while you prepare the meat for cooking. During the preparation stage the oven will heat up to a level that is right to introduce the gammon to the heat.
The other method is to boil the gammon in which case you will need a large saucepan. Place the raw meat into the saucepan and then cover it with cold water and then bring that to the boil. At this stage you can begin to add you seasonings, and generally for ham things such as onions, garlic, peppercorns, bay leaves, or even cinnamon work really well at bringing the best out of the ham.
If you are using the oven cooking method then you will want to rub some oil at the bottom of a roasting pan, and then cover the outer part of the gammon with some extra virgin olive oil and the seasonings of your choice. The oil will make the skin of the gammon nice and crispy which some people really do like.
For the oven process you will then want to but the joint of meat into the centre of the oven and then turn down the temperature to 250F and let it cook for 30-50 minutes depending on the weight of the meat.
Once it has finished cooking at this temperature take the gammon out and let it rest on the kitchen counter for a period of 10-15 minutes. All this does is allow the juices to redistribute themselves around the ham joint increasing the tenderness and moistness of the ham inside. Place some foil over the ham joint at this stage to lock in the steam and heat.
If you have chosen the boiling option then usually you will cook the meat for around 30 minutes for each 1lb of meat the gammon weighs in at. You can remove the ham from the pan once cooked for that period of time and then glaze the outer part with the flavour of your choice. Maple syrup and mustard is usually a particular favourite when it comes to this kind of meat. You can then place the ham into the oven at 250F for another 20 minutes to give a golden finish to the ham.
Once you have finished cooking you can then carve up the ham which can be used in a variety of different dishes. The obvious choice for gammon is to use it on the table at Christmas but you can also create a great Tagliatteli Carbonara with this chunky moist meat, and you can also add chunks of it into a nice summer salad if you wish.
The beauty of ham is that it can go with many kinds of different foods and used as part of many types of cultural cooking experiments so use your imagination here to see what it can go with.
If you happen to have any leftover meat than you can store this in the fridge for 3-4 days or you can chop it up and put it in a freezer bag where you can keep for a period of up to 3 months, allowing you to dip in and out of it overtime if you wish.

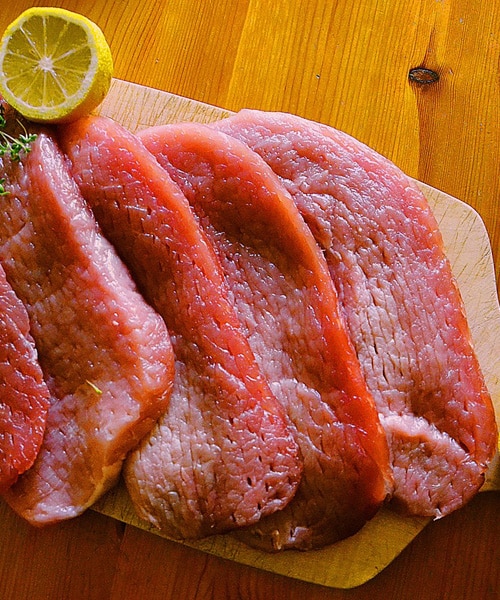
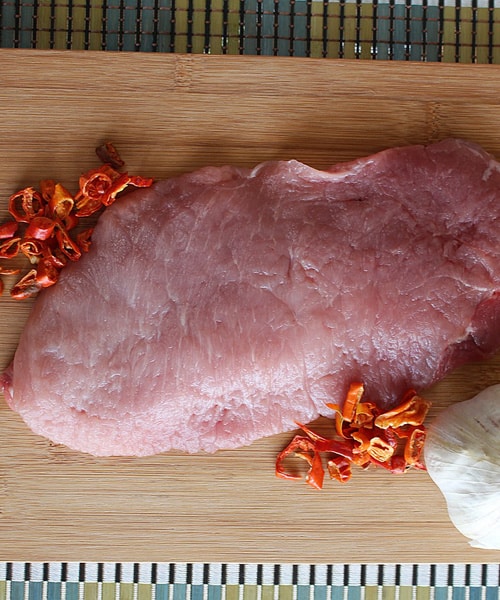
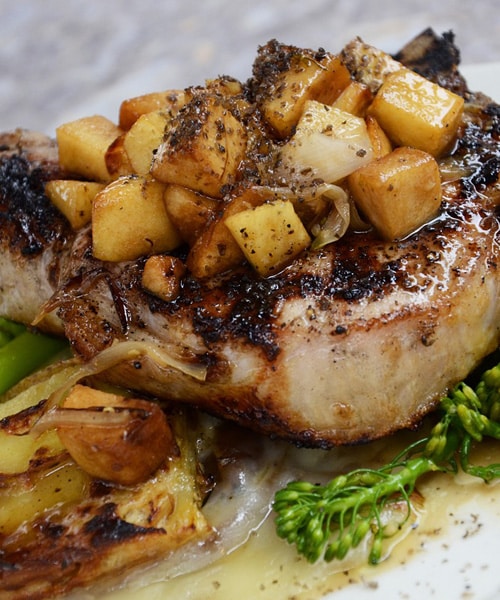
The loin part of a pig is located in the middle section towards the top as it said to be the tastiest part of the animal that offers tender and moist meat to dinner guests when cooked properly. Therefore it’s no surprise that pork loin is also referred to as a pork tenderloin. The other fact of this type of meat is that’s its boneless as well because of where it is located on the pig, this alone makes it easy to see why the meat is tender and moist.
The biggest key to getting this cooked right is timing and oven temperatures, as well as knowing the correct weight of the meat so you know how long to cook it for.
Firstly like any type of big meat you want to start by getting the oven set to the correct temperature as you don’t want to be placing your pork loins into the oven has its starts to heat up. So turn up the temperature dial to 450F and leave the oven to heat up to that temperature while you get on with the preparation side of things.
The next step is to take your meat out of the fridge is you haven’t already, and begin to season them. Usually there are a wide selection of herbs that go well with pork so you can either mix a few of these together or you can use a preferred herb. What we advise is that you blend together a tablespoon of mixed herbs by adding the likes or thyme, rosemary, and sage together in a dish, topped off with some sea salt and pepper. Mix these all together and then add about a tablespoon of extra virgin olive oil.
Why add the olive oil I hear you ask?

Well this is a little trick to help season the pork loins better than just sprinkling the herbs across the top. The oil will help you create a paste out of the herbs which makes it easier for you to rub onto the pork loins, making sure that you cover each one well.
Now you have finished with the seasoning step of cooking this meat, you want to get them ready to place into the oven, and the key part here is that you don’t overcook them as they will be dry to eat which isn’t very nice.
A lot of people get scared when cooking meat and overcook, so don’t fall into this category. By now your oven has heated up nicely and the rule of thumb to cooking times here is cook for 5 minutes and 30 seconds for each pound in weight. Turn off the oven when you put the loins in and leave the pork loins to cook for about 45 minutes to an hour (dependant on weight). However, its important not to open the door and let the heat escape at this stage, and if you have an older oven this process may not work for you if the heat can escape easily.
After the time has passed take out the pork loins and cover them with foil (like a tent) and let them rest on the kitchen counter for a good 10 minutes.
The resting time will allow the pork loins to absorb all those rich juices making them moist and tender when you finally come to taking a bite out of them.
Pork loins are usually served with a dinner that consists of potatoes and vegetables but there are plenty of other dishes that you can add these to. If you want a cold salad then the loins can be cut into strip pieces and left to cool down before throwing them into a nice summer salad, or they can be added to a stir fry or oriental dish with noodles.
The seasoning can also be experimented with and you can try glazing methods on your pork loin, such as a honey glaze or a honey and mustard glaze if you want a bit of a kick to the meat. There are also cheese dressings that can be used to add to the pork loins which are called Caesar pork chops. This uses a creamy Caesar salad dressing with shredded parmesan cheese sprinkled over the top of the meat.
The choice really is yours when it comes to the dressing and the dishes that you use them in, but the cooking method will always stay the same. This will provide you with a well cooked and tender bit of meat that you or your dinner guests will love to eat. So try it out next time you have guests over, we can guarantee it will be a hit!


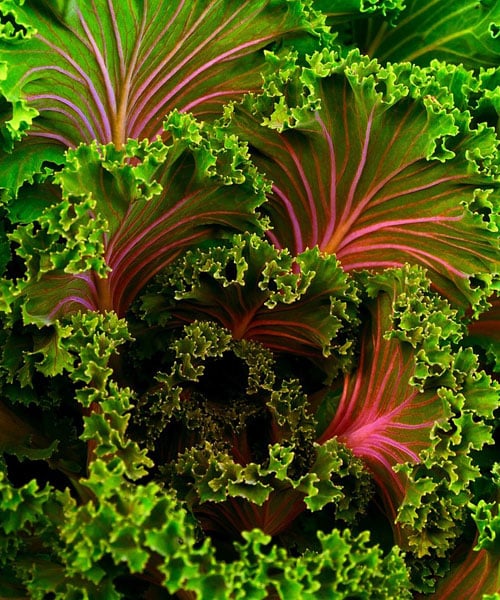
When we think of Kale we think bland and boring, but you would be surprised at the dishes that you can create with this wonderful vegetable. Not only that but Kale has so many health benefits for you that you would be ignorant if you didn’t give this veg a try. For example, did you know that kale is less than 30 calories, and gives you a full daily quota of vitamin C? It also gives twice the daily amount of Vitamin A, but a staggering seven times the amount of Vitamin K! If that’s not enough the vegetable is jam-packed full of great nutrients that will give you everything you need and more.
Perhaps the biggest issue with kale is that people just don’t know how to cook it and what to do with it, right now we want to change all that and offer you some insights into what you can cook kale with in an effort to encourage you to go out to the local green grocers and grab yourself some of this wonderful super food.
Ok, so the first recipe we wanted to highlight is soup because kale happens to be the ideal ingredient for most type of healthy soups. Now soups can be as little as 250 calories but they taste great and fill you up a treat.
All you need is some carrots, onions, black beans, kale and then some olive oil, garlic, rosemary and a vegetable broth and you have yourself a fantastic lunchtime meal.
Of course, you can swap and mix the ingredients around if you wish by adding some celery or croutons or taking the black beans out and adding lentils. That’s the marvellous thing about soups, you can add practically anything to that broth and it will taste heavenly.
For just a little of 400 calories you can cook a braised kale dish that consists of sausage and a creamy polenta. This will tingle the taste buds of many health freaks and will even get the general food lover interested in giving it a try. All you need is some chicken sausage that you can cut up into sizeable chunks, some quick cook polenta, smoked paprika, some black pepper and salt, along with mascarpone cheese.
These ingredients cooked together and dished up ready to serve are quite the meal to be staring down on when hunger strikes.

Pasta goes with anything really, there isn’t much limit to what you can do with this food type and believe it or not there quite a few pasta dishes that are out there at the moment that will have you drooling from your lips when you see them.
One of those dishes happens to be Kale and Penne pasta with grated parmesan cheese. For this you want vegetable broth at hand and then a mixture of kale, penne pasta, olive oil, red peppers, crushed garlic and some salt and pepper. You will want to cut the kale up into small pieces and scatter it over the penne pasta, and then top it with the cheese.
This makes for an ideal lunchtime snack or a dinner, and its only 300 calories!
As well as adding kale to dishes such as soups and pasta it works a treat when added to meat and can even be a part of your Sunday dinners. Something along the lines of roasted pork chops, boiled kale and roasted butternut squash are hard to beat when you want something tasty as a dinner.
The kale will compliment both the meaty pork chops but will also work in harmony with that roasted butternut squash. Equally if you wanted to add more vegetables to the plate or replace the butternut squash with a creamy mash potato then this will work just as well.
Finally we come to a dish that contains more kale than other ingredients in a meal that consists of roasted peppers and olives. All you need to compliment this is a dash of balsamic vinegar across the top to add some tang. If you are feeling really adventurous you can experiment with different ingredients that go well with peppers and olives by adding some nuts or some feta cheese in a twist to the Greek salad.
Let the kale and the peppers cool down to enjoy this tasty dish cool or you can eat it as soon as it comes from the hob, the choice is yours.
This dish also happens to be one of the lowest calorie dishes we have mentioned in our recipe run down and comes in at just under 200 calories, so why not treat yourself to kale based dish and see how it suits you.

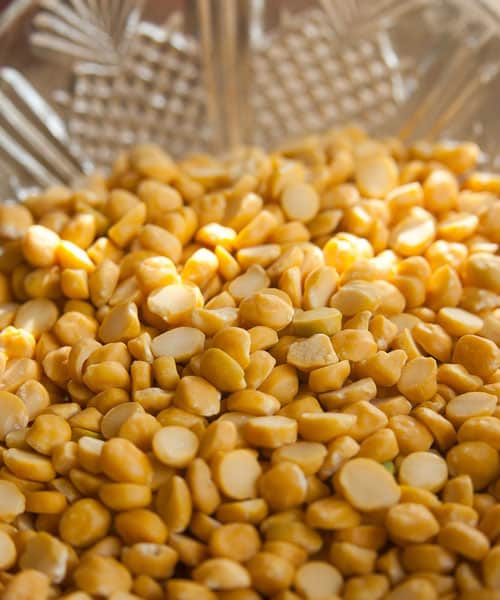
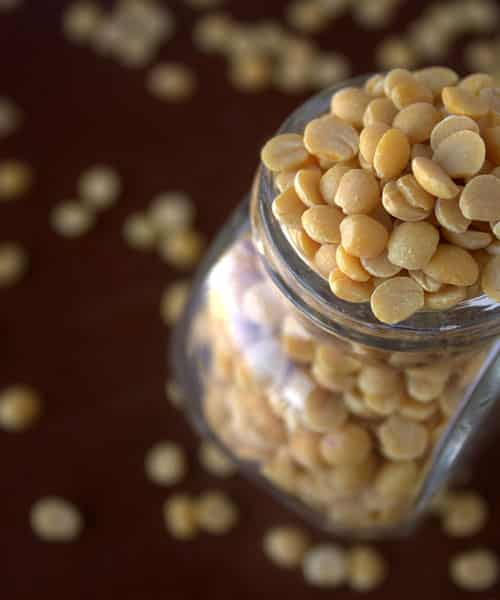
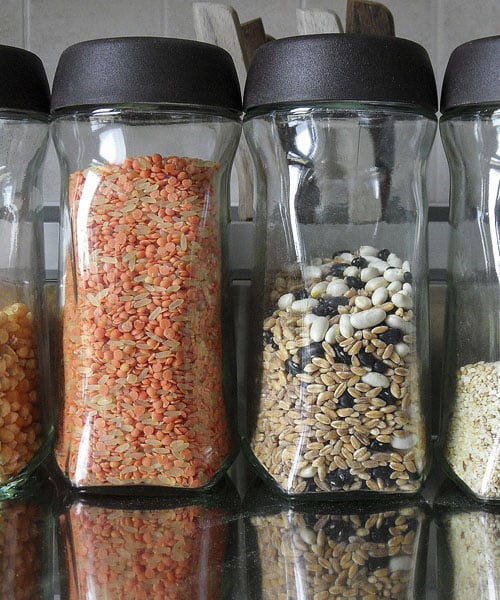
A lot of people have no idea how to cook lentils or the possibilities and opportunities that come with such a food. These can add that final spark of taste to your meal, and they are very cheap to buy over the counter at your local grocery store.
Firstly, there are many different types of lentils you can come across but generally the most common ones are green, brown and red. Despite the colour difference they are still lentils and should be approached in the same way when you come to cook them, unless they are red split lentils which tend to cook much quickly than any other type of lentil.
The main benefits to eating lentils as part of your diet are that they contain a high source of protein, iron, and fiber which is a great staple for vegetarians as well.
As with anything we do when cooking preparation is a key part in the overall process, so take the time to rinse your lentils before cooking. This is mainly targeted at dried lentils that you can buy from a bulk food bin, the reason? They usually contain other elements that aren’t edible such as grit, pebbles, stones and other materials that you really don’t want to be taking a hard bit down on.
Rinsing the lentils will not only clean them up but it will give you this opportunity to pick out the bits you don’t need, but make sure you use a colander that will sieve out these small pieces but won’t lose your lentils.
The first and main cooking method for lentils is to boil them in a saucepan but be warned they do take a long time to cook unlike other food types that you tend to boil. Pour kettle heated water over the lentils that are resting in your saucepan and then bring that water to a quick boil. As soon as you see the water boiling turn the heat right down so that they are cooking in a gentle simmer, and leave them to cook for around 45 minutes stirring them around every 10 minutes.
What you will notice at the end of that 45 minute period is that the lentils will have absorbed all the water and they will now be tender rather than tough and hard.
Drop the lentils into your colander to remove any left over water and then you can season them to your required taste and add them to a salad, or used a side dish as part of a main meal.
As we said in the introduction to this article lentils can be used as a part of many types of dishes, and in general they are eaten through each season of the year, whether it’s a salad in the summer or a warm spicy soup for the winter.
There are however some great tips that you can use when boiling your lentils to add extra flavour, so don’t just leave them plain as when they started. If you have some garlic or onion at home then think about adding this to the water (remember that lentils absorb the water they are in so they will take all the flavour on and you will have a great tasting result because of it).
If garlic or onion isn’t your thing then think about your herb collection, adding a few pinches of different herbs can also flavour the water which will in turn flavour the lentils you are cooking. Its also worth adding some salt and pepper to your stock, even if you prefer your lentils to be cooked as plain as when they started.
Besides, if you do cook them plain you can also dress them up on the plate before you come to eating them. By adding a splash of olive oil, some butter or some red wine vinegar on top of them you can give your lentils and nice tasty kick, so don’t be afraid to experiment with some flavours and seasonings as you will find that some really do make lentils taste amazing, even if they are a side dish that is complimenting a larger meal at your table.
Finally, don’t always wait for the water to absorb into your lentils because it will vary depending on what you are using them for. If you want them as part of a soup dish then you want the lentils to be as soft as possible, but if they are part of a salad then you might only want to cook them for half the time so they are slightly harder to bite into. Therefore just check the lentils every so often to see if they are consistent to what you need them for, don’t just rely on the water fully being absorbed.

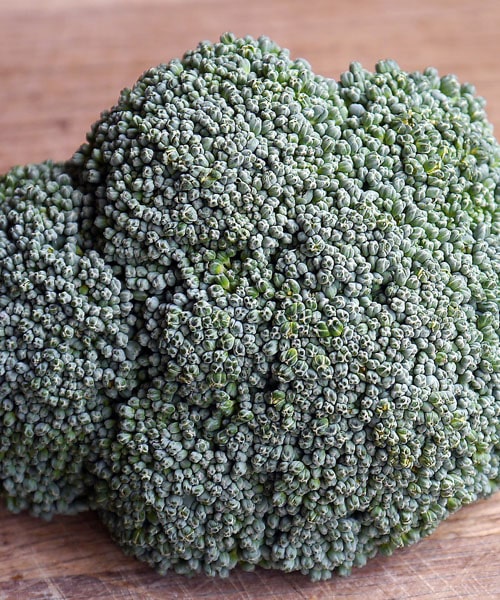
Broccoli is a super food that has many health benefits, but it’s also a food that can be cooked in a variety of different ways and included in a selection of tasty dishes and snacks. For a start broccoli is actually a great source of fiber, pantothenic acid, omega-3 fatty acids, protein, zinc, calcium, iron and niacin to just mention a few of its benefits. The vegetable also contain carotenoids which can help prevent some forms of cancer in the human body.
By now you are probably adding tons of broccoli to your online grocery list in an effort to improve your health and diet, but the best is still yet to come in the ways that you can cook this power antioxidant.
It may sound disgusting at first but there are no issues with eating broccoli raw if you can stomach the taste and texture. Obviously without cooking it you are getting all the best nutrients into your body, but the vegetable can be quite tough to eat and swallow. By cooking the super food you are adding more flavour and changing the texture so it can be enjoyed as part of a main meal or snack.
Although, if you just want something quick to eat then by all means reach for the raw broccoli and fill yourself up.
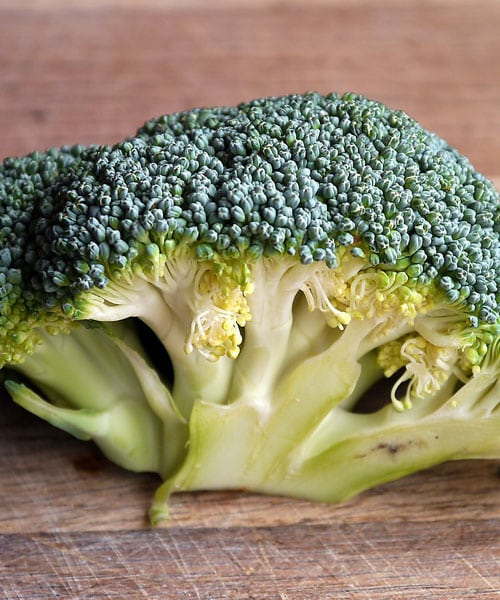
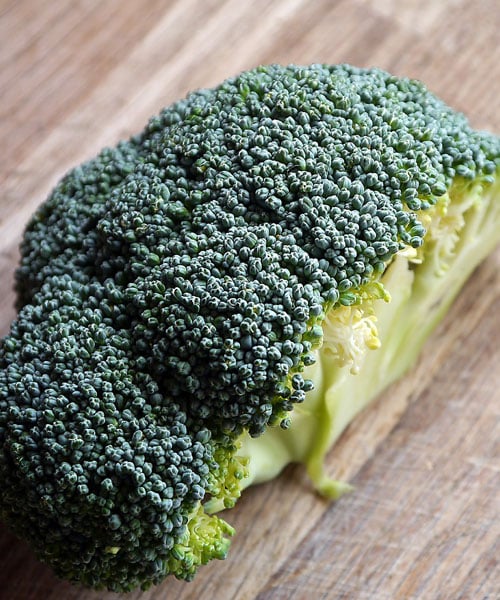
A freshly purchased broccoli does come in the form of a tree so there is some work to do in order to cut out the parts you don’t want to the parts you need. You will first need a sharp knife to cut through the broccoli stem horizontally and as close to the top of the florets as you can get. The closer you get the less work you will need to do as the broccoli should now fall into pieces.
There will still be florets attached to the main trunk of the vegetable so you will need to cut these up as well. You should now have a bowl full of large and small florets, all individually cut from each other.
Now take the bowl to the sink, and like most vegetables and meats you will want to give it a quick rinse under cold running water as this will rinse away any dirt or grit that may be caught in the florets. The broccoli is now ready to cook.
If you want to make a stir fry then this option is the best to cook your broccoli under, but you need to make sure that the broccoli is dry (you might need to skip the washing part here). Grab your pan or skillet and layer the bottom with some olive oil and place the pan on a medium to high heat.
Once the oil is hot enough add the florets and a couple of pinches of sea salt, and stir or toss the florets so they are all covered well with the oil and salt. You will want to cook them for a couple of minutes until you see a brighter green colour change and the florets becoming tender.
Rather than boiling broccoli a better choice these days is to steam them so you gain all the nutrition benefits. To do this fill a big pan with water, and use a steamer basket over the top (but make sure the water doesn’t touch the basket). If you have a steamer then use this instead.
Add the broccoli to the basket once the water is simmering in the pan and then cover with a lid so the steam can cook the florets in about 5 minutes.
Again, with a steamer you have all the tools there so just set the timer to 5 minutes once the machine has been switched on to boil the water.
For the ultimate in taste you want to roast your broccoli as this really does bring out some fascinating flavours to the mix. You want to crank up the oven to around 425F and you need to have dry broccoli like you would during the sauté method, so if need be just miss out on the washing process so your broccoli is as dry as possible.
Spread the broccoli over some tin foil on a baking tray and then drizzle the florets with oil and toss them around the tray so they are all covered well. Add some sea salt to the mix and then let them roast for a good half an hour until you see the tips of the florets turning a golden brown or caramelized brown colour. The broccoli at this stage will be crunchy and ready to serve up to your guests as part of a dish, or if you fancy a quick snack then these moorish florets will do the trick.

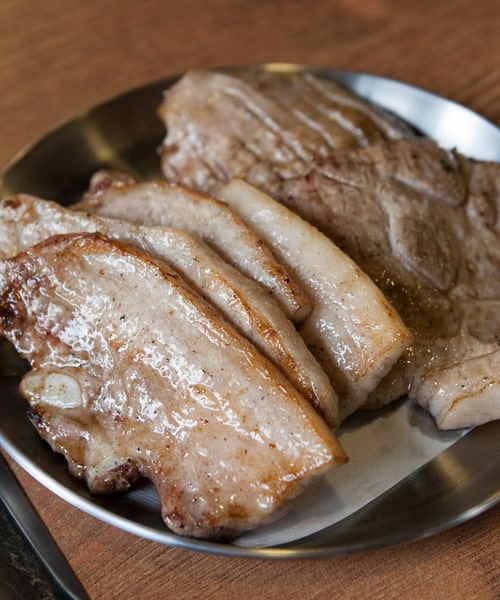
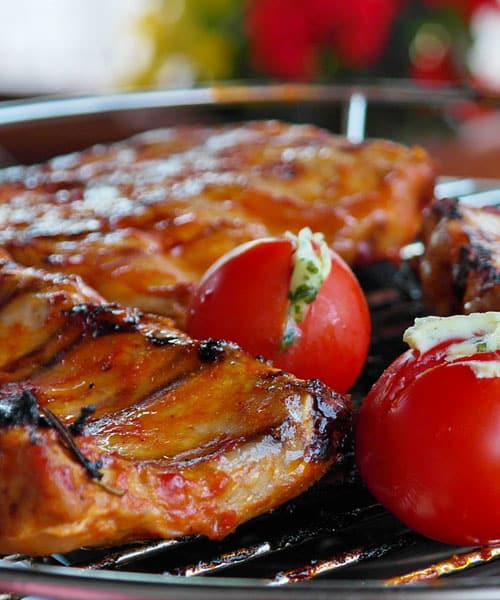
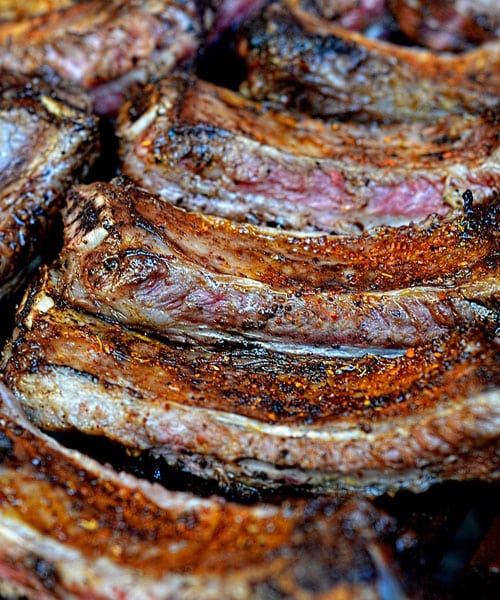
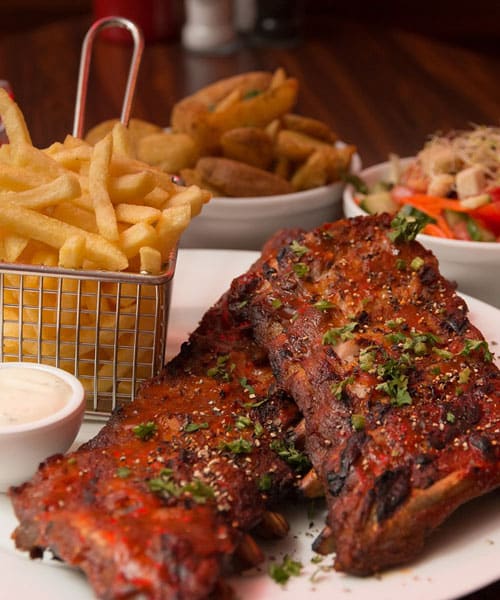
There is nothing more succulent and surprising on the taste buds than some juicy pork ribs, and believe it or not you can get the exact same taste and flavours by using your oven to that of using your outdoor BBQ. Let’s face it the weather can be as temperamental as it comes and a perfectly planned BBQ can often lead to desperate dashes indoors, but if you know how to cook the perfect rack of pork ribs indoors, then the party doesn’t have to stop.
There are a couple of ways you can cook ribs apart from BBQ’ing them, and the more popular ways tend to be grilling them or oven cooking them. What you will find with oven cooked ribs is a much tenderer and tastier end-product because the moisture is still very much locked into the meat. When you grill them you will find that they can be drier and not as tender, although there is nothing wrong with grilling ribs as you get a different texture and taste.
The other benefit to over cooking is that you can really marinate them with your choice of flavour, and this is where the BBQ taste comes from. Let’s show you how to oven-cook the perfect pork ribs.
First of all there are so many different flavours you can choose from here and it doesn’t have to be BBQ flavoured. You can go for sweet, spicy, or a mix of your own styled marinade the choice is yours.
For this example we are going for a sweet BBQ marinade.
Firstly take the ribs out of the fridge and season them on both sides with a mixture of slat and pepper, and be generous with this step. Once you have done this you can now put the ribs into a roasting dish and cover them up with foil. Preheat your oven to about 250F and once hot place the roasting dish onto the middle shelf and then let the ribs cook for about 2-2.5 hours.
Whilst the ribs are cooking you can now start preparing the marinade, so first things first you will need to get a saucepan, pour in some olive oil and then get that heated up.
Once hot you can chop up and onion, finely, and then drop this into the saucepan. Stir the onion around for a few minutes and then add in your mixture which will include ingredients such as ½ a cup of ketchup, 1 tablespoon of apple cider vinegar, 1 tablespoon of hot sauce, 2 tablespoons of brown sugar and some salt and pepper.
Stir all this together until the sauce has been made, and you are happy to use it as a marinade.
Tip: Make sure that when you are cutting up your onion that you dice it up thinly to avoid any chunks from appearing in the marinade as you want the sauce to be as smooth as possible.
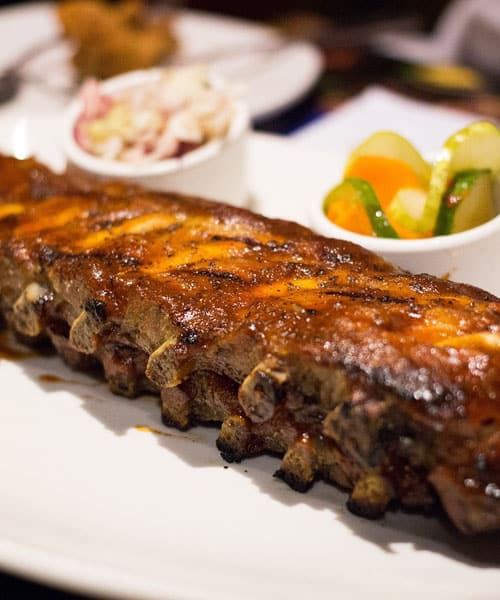
By now your ribs should be finishing up so take the roasting dish out of the oven and carefully pour the BBQ sauce over the rack of ribs making sure that each rib has been covered evenly. If not, use a brush to complete this job.
Place the ribs back into the oven for a further 5 minutes until the ribs are brown in colour and you can see the sauce bubbling on the top of them. Once finished take the tray back out and leave the ribs on the counter top in order for them to cool down and for the juices to redistribute through the meat.
Here’s the great thing about ribs, you can literally serve them up with anything you like (well almost anything). If you are feeling particularly healthy you can serve the ribs with some freshly cooked green beans, broccoli and fresh potatoes.
For the perfect summer time dish you can serve your BBQ ribs with a fresh and crispy salad, some boiled rice, or create your own homemade coleslaw which really compliments the taste of the succulent ribs.
If you have your BBQ mind on then you serve them up with some chips, and some rustic crusty bread and butter to really get your appetite going, or you could simply swap the chips for potato wedges which are sure to get your guests interest.
Or you could simply eat them as they come on their own which many people enjoy to do, simply save some of the marinade to one side and put it into a dipping pot so you can dunk your ribs are you eat them. Just make sure that you have some wipes at arm’s reach because it can get pretty messy when eating ribs that have been cooked like this!