

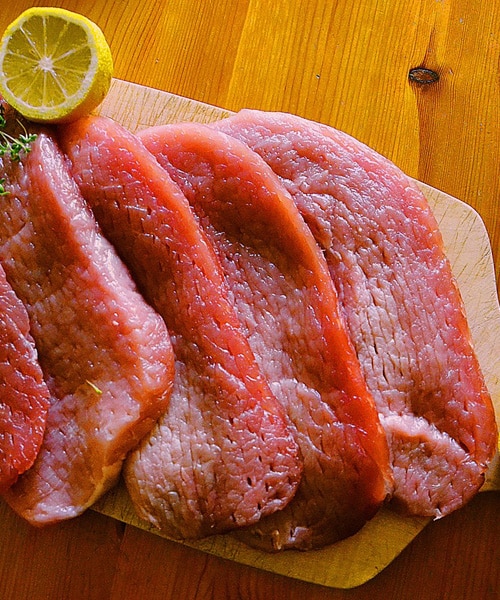
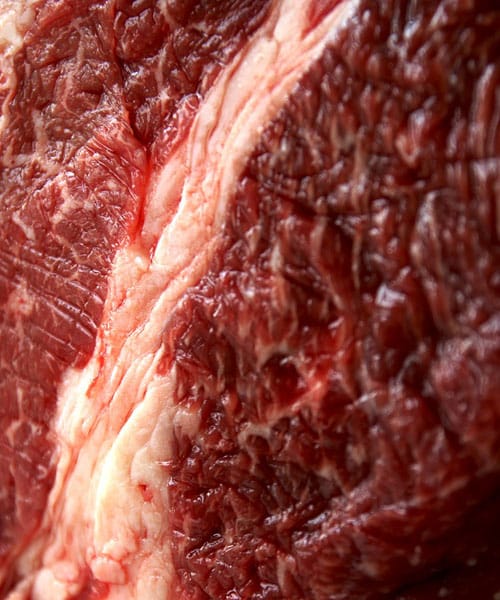
The loin part of a pig is located in the middle section towards the top as it said to be the tastiest part of the animal that offers tender and moist meat to dinner guests when cooked properly. Therefore it’s no surprise that pork loin is also referred to as a pork tenderloin. The other fact of this type of meat is that’s its boneless as well because of where it is located on the pig, this alone makes it easy to see why the meat is tender and moist.
The biggest key to getting this cooked right is timing and oven temperatures, as well as knowing the correct weight of the meat so you know how long to cook it for.
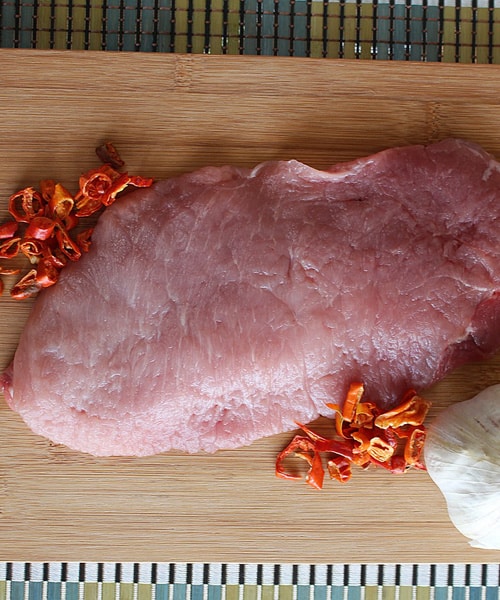
Firstly like any type of big meat you want to start by getting the oven set to the correct temperature as you don’t want to be placing your pork loins into the oven has its starts to heat up. So turn up the temperature dial to 450F and leave the oven to heat up to that temperature while you get on with the preparation side of things.
The next step is to take your meat out of the fridge is you haven’t already, and begin to season them. Usually there are a wide selection of herbs that go well with pork so you can either mix a few of these together or you can use a preferred herb. What we advise is that you blend together a tablespoon of mixed herbs by adding the likes or thyme, rosemary, and sage together in a dish, topped off with some sea salt and pepper. Mix these all together and then add about a tablespoon of extra virgin olive oil.
Why add the olive oil I hear you ask?

Well this is a little trick to help season the pork loins better than just sprinkling the herbs across the top. The oil will help you create a paste out of the herbs which makes it easier for you to rub onto the pork loins, making sure that you cover each one well.
Now you have finished with the seasoning step of cooking this meat, you want to get them ready to place into the oven, and the key part here is that you don’t overcook them as they will be dry to eat which isn’t very nice.
A lot of people get scared when cooking meat and overcook, so don’t fall into this category. By now your oven has heated up nicely and the rule of thumb to cooking times here is cook for 5 minutes and 30 seconds for each pound in weight. Turn off the oven when you put the loins in and leave the pork loins to cook for about 45 minutes to an hour (dependant on weight). However, its important not to open the door and let the heat escape at this stage, and if you have an older oven this process may not work for you if the heat can escape easily.
After the time has passed take out the pork loins and cover them with foil (like a tent) and let them rest on the kitchen counter for a good 10 minutes.
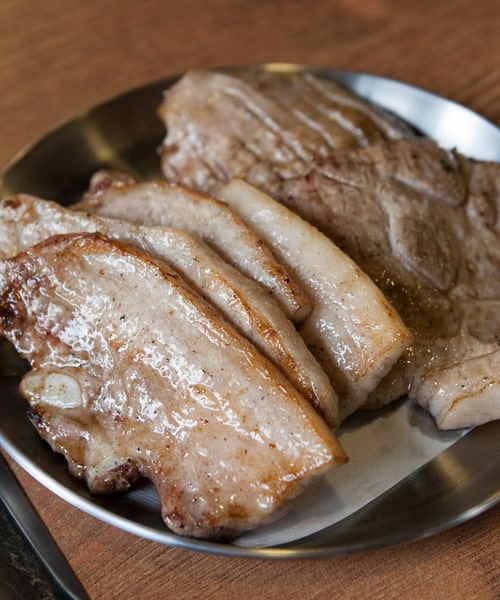
The resting time will allow the pork loins to absorb all those rich juices making them moist and tender when you finally come to taking a bite out of them.
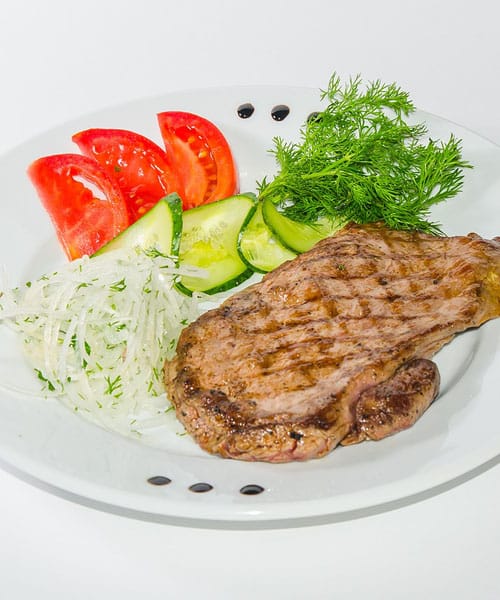
Pork loins are usually served with a dinner that consists of potatoes and vegetables but there are plenty of other dishes that you can add these to. If you want a cold salad then the loins can be cut into strip pieces and left to cool down before throwing them into a nice summer salad, or they can be added to a stir fry or oriental dish with noodles.
The seasoning can also be experimented with and you can try glazing methods on your pork loin, such as a honey glaze or a honey and mustard glaze if you want a bit of a kick to the meat. There are also cheese dressings that can be used to add to the pork loins which are called Caesar pork chops. This uses a creamy Caesar salad dressing with shredded parmesan cheese sprinkled over the top of the meat.
The choice really is yours when it comes to the dressing and the dishes that you use them in, but the cooking method will always stay the same. This will provide you with a well cooked and tender bit of meat that you or your dinner guests will love to eat. So try it out next time you have guests over, we can guarantee it will be a hit!


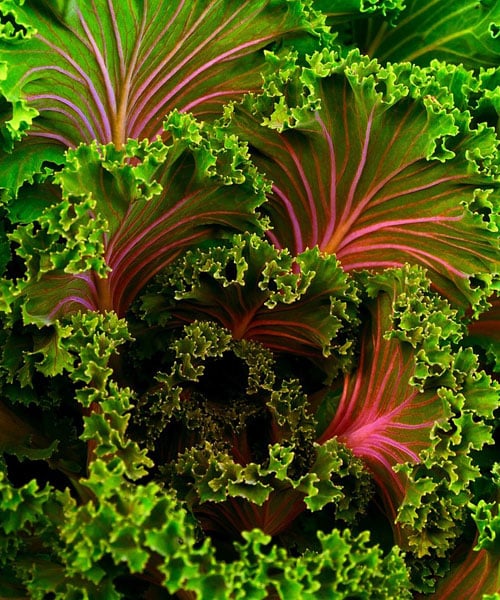
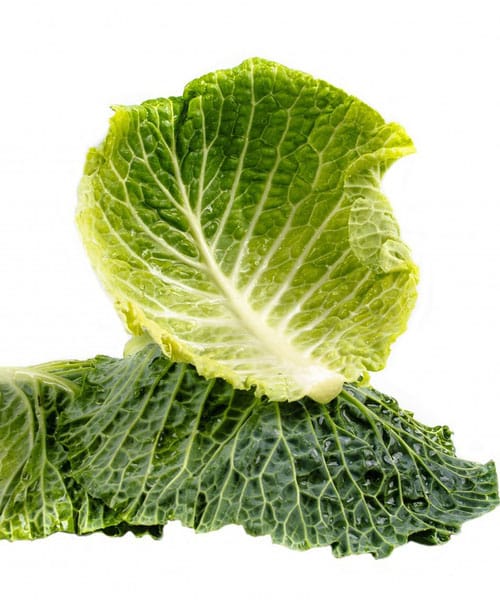
When we think of Kale we think bland and boring, but you would be surprised at the dishes that you can create with this wonderful vegetable. Not only that but Kale has so many health benefits for you that you would be ignorant if you didn’t give this veg a try. For example, did you know that kale is less than 30 calories, and gives you a full daily quota of vitamin C? It also gives twice the daily amount of Vitamin A, but a staggering seven times the amount of Vitamin K! If that’s not enough the vegetable is jam-packed full of great nutrients that will give you everything you need and more.
Perhaps the biggest issue with kale is that people just don’t know how to cook it and what to do with it, right now we want to change all that and offer you some insights into what you can cook kale with in an effort to encourage you to go out to the local green grocers and grab yourself some of this wonderful super food.
Ok, so the first recipe we wanted to highlight is soup because kale happens to be the ideal ingredient for most type of healthy soups. Now soups can be as little as 250 calories but they taste great and fill you up a treat.
All you need is some carrots, onions, black beans, kale and then some olive oil, garlic, rosemary and a vegetable broth and you have yourself a fantastic lunchtime meal.
Of course, you can swap and mix the ingredients around if you wish by adding some celery or croutons or taking the black beans out and adding lentils. That’s the marvellous thing about soups, you can add practically anything to that broth and it will taste heavenly.
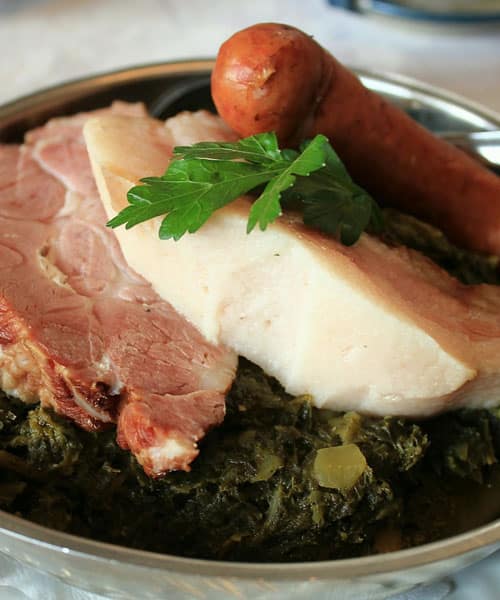
For just a little of 400 calories you can cook a braised kale dish that consists of sausage and a creamy polenta. This will tingle the taste buds of many health freaks and will even get the general food lover interested in giving it a try. All you need is some chicken sausage that you can cut up into sizeable chunks, some quick cook polenta, smoked paprika, some black pepper and salt, along with mascarpone cheese.
These ingredients cooked together and dished up ready to serve are quite the meal to be staring down on when hunger strikes.

Pasta goes with anything really, there isn’t much limit to what you can do with this food type and believe it or not there quite a few pasta dishes that are out there at the moment that will have you drooling from your lips when you see them.
One of those dishes happens to be Kale and Penne pasta with grated parmesan cheese. For this you want vegetable broth at hand and then a mixture of kale, penne pasta, olive oil, red peppers, crushed garlic and some salt and pepper. You will want to cut the kale up into small pieces and scatter it over the penne pasta, and then top it with the cheese.
This makes for an ideal lunchtime snack or a dinner, and its only 300 calories!
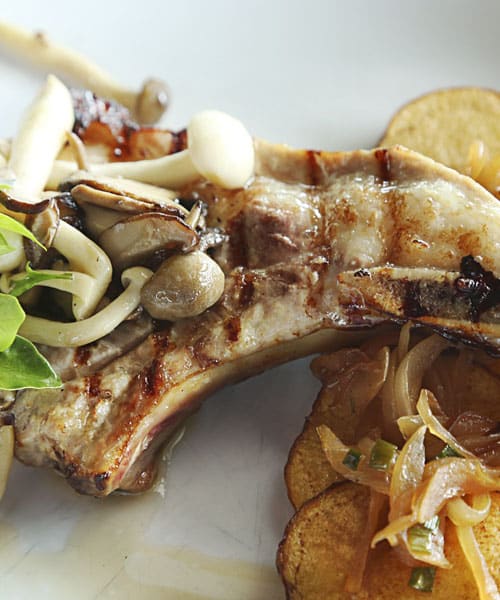
As well as adding kale to dishes such as soups and pasta it works a treat when added to meat and can even be a part of your Sunday dinners. Something along the lines of roasted pork chops, boiled kale and roasted butternut squash are hard to beat when you want something tasty as a dinner.
The kale will compliment both the meaty pork chops but will also work in harmony with that roasted butternut squash. Equally if you wanted to add more vegetables to the plate or replace the butternut squash with a creamy mash potato then this will work just as well.
Finally we come to a dish that contains more kale than other ingredients in a meal that consists of roasted peppers and olives. All you need to compliment this is a dash of balsamic vinegar across the top to add some tang. If you are feeling really adventurous you can experiment with different ingredients that go well with peppers and olives by adding some nuts or some feta cheese in a twist to the Greek salad.
Let the kale and the peppers cool down to enjoy this tasty dish cool or you can eat it as soon as it comes from the hob, the choice is yours.
This dish also happens to be one of the lowest calorie dishes we have mentioned in our recipe run down and comes in at just under 200 calories, so why not treat yourself to kale based dish and see how it suits you.

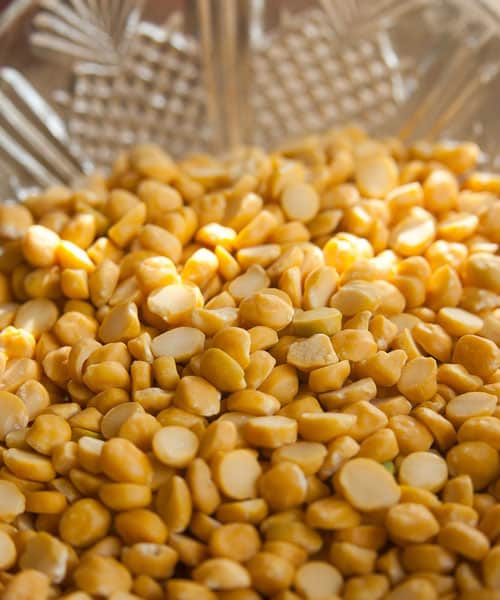
A lot of people have no idea how to cook lentils or the possibilities and opportunities that come with such a food. These can add that final spark of taste to your meal, and they are very cheap to buy over the counter at your local grocery store.
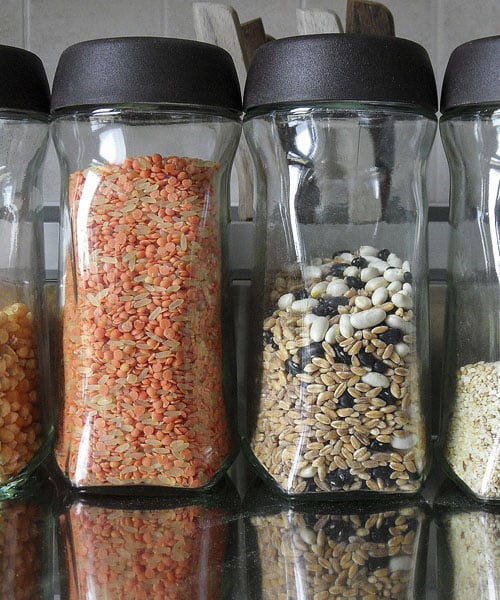
Firstly, there are many different types of lentils you can come across but generally the most common ones are green, brown and red. Despite the colour difference they are still lentils and should be approached in the same way when you come to cook them, unless they are red split lentils which tend to cook much quickly than any other type of lentil.
The main benefits to eating lentils as part of your diet are that they contain a high source of protein, iron, and fiber which is a great staple for vegetarians as well.
As with anything we do when cooking preparation is a key part in the overall process, so take the time to rinse your lentils before cooking. This is mainly targeted at dried lentils that you can buy from a bulk food bin, the reason? They usually contain other elements that aren’t edible such as grit, pebbles, stones and other materials that you really don’t want to be taking a hard bit down on.
Rinsing the lentils will not only clean them up but it will give you this opportunity to pick out the bits you don’t need, but make sure you use a colander that will sieve out these small pieces but won’t lose your lentils.
The first and main cooking method for lentils is to boil them in a saucepan but be warned they do take a long time to cook unlike other food types that you tend to boil. Pour kettle heated water over the lentils that are resting in your saucepan and then bring that water to a quick boil. As soon as you see the water boiling turn the heat right down so that they are cooking in a gentle simmer, and leave them to cook for around 45 minutes stirring them around every 10 minutes.
What you will notice at the end of that 45 minute period is that the lentils will have absorbed all the water and they will now be tender rather than tough and hard.
Drop the lentils into your colander to remove any left over water and then you can season them to your required taste and add them to a salad, or used a side dish as part of a main meal.
As we said in the introduction to this article lentils can be used as a part of many types of dishes, and in general they are eaten through each season of the year, whether it’s a salad in the summer or a warm spicy soup for the winter.
There are however some great tips that you can use when boiling your lentils to add extra flavour, so don’t just leave them plain as when they started. If you have some garlic or onion at home then think about adding this to the water (remember that lentils absorb the water they are in so they will take all the flavour on and you will have a great tasting result because of it).
If garlic or onion isn’t your thing then think about your herb collection, adding a few pinches of different herbs can also flavour the water which will in turn flavour the lentils you are cooking. Its also worth adding some salt and pepper to your stock, even if you prefer your lentils to be cooked as plain as when they started.
Besides, if you do cook them plain you can also dress them up on the plate before you come to eating them. By adding a splash of olive oil, some butter or some red wine vinegar on top of them you can give your lentils and nice tasty kick, so don’t be afraid to experiment with some flavours and seasonings as you will find that some really do make lentils taste amazing, even if they are a side dish that is complimenting a larger meal at your table.
Finally, don’t always wait for the water to absorb into your lentils because it will vary depending on what you are using them for. If you want them as part of a soup dish then you want the lentils to be as soft as possible, but if they are part of a salad then you might only want to cook them for half the time so they are slightly harder to bite into. Therefore just check the lentils every so often to see if they are consistent to what you need them for, don’t just rely on the water fully being absorbed.

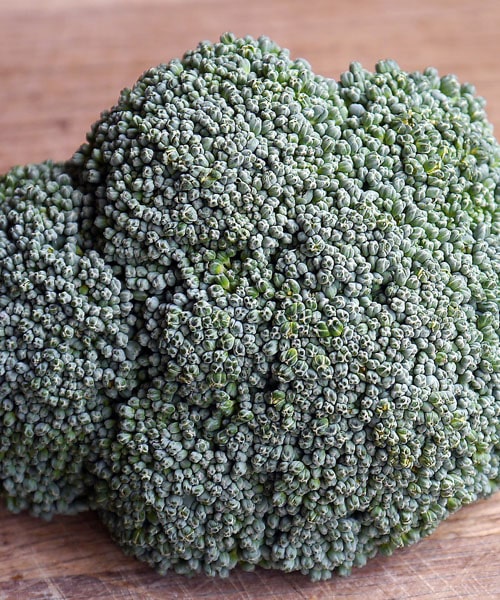
Broccoli is a super food that has many health benefits, but it’s also a food that can be cooked in a variety of different ways and included in a selection of tasty dishes and snacks. For a start broccoli is actually a great source of fiber, pantothenic acid, omega-3 fatty acids, protein, zinc, calcium, iron and niacin to just mention a few of its benefits. The vegetable also contain carotenoids which can help prevent some forms of cancer in the human body.
By now you are probably adding tons of broccoli to your online grocery list in an effort to improve your health and diet, but the best is still yet to come in the ways that you can cook this power antioxidant.
It may sound disgusting at first but there are no issues with eating broccoli raw if you can stomach the taste and texture. Obviously without cooking it you are getting all the best nutrients into your body, but the vegetable can be quite tough to eat and swallow. By cooking the super food you are adding more flavour and changing the texture so it can be enjoyed as part of a main meal or snack.
Although, if you just want something quick to eat then by all means reach for the raw broccoli and fill yourself up.
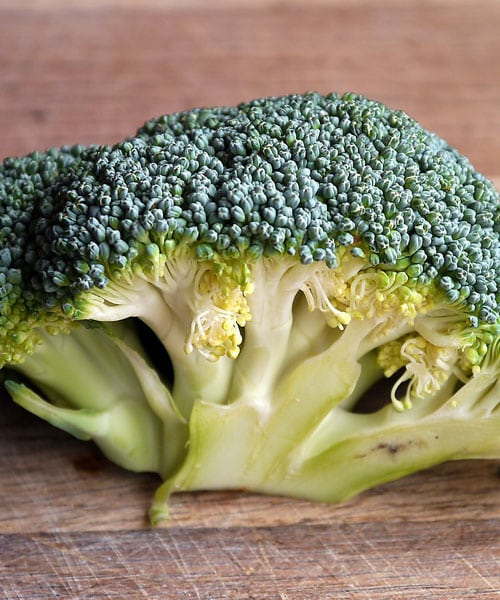
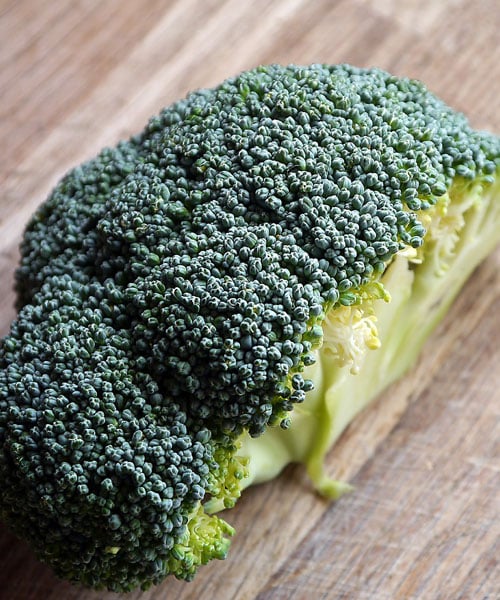
A freshly purchased broccoli does come in the form of a tree so there is some work to do in order to cut out the parts you don’t want to the parts you need. You will first need a sharp knife to cut through the broccoli stem horizontally and as close to the top of the florets as you can get. The closer you get the less work you will need to do as the broccoli should now fall into pieces.
There will still be florets attached to the main trunk of the vegetable so you will need to cut these up as well. You should now have a bowl full of large and small florets, all individually cut from each other.
Now take the bowl to the sink, and like most vegetables and meats you will want to give it a quick rinse under cold running water as this will rinse away any dirt or grit that may be caught in the florets. The broccoli is now ready to cook.
If you want to make a stir fry then this option is the best to cook your broccoli under, but you need to make sure that the broccoli is dry (you might need to skip the washing part here). Grab your pan or skillet and layer the bottom with some olive oil and place the pan on a medium to high heat.
Once the oil is hot enough add the florets and a couple of pinches of sea salt, and stir or toss the florets so they are all covered well with the oil and salt. You will want to cook them for a couple of minutes until you see a brighter green colour change and the florets becoming tender.
Rather than boiling broccoli a better choice these days is to steam them so you gain all the nutrition benefits. To do this fill a big pan with water, and use a steamer basket over the top (but make sure the water doesn’t touch the basket). If you have a steamer then use this instead.
Add the broccoli to the basket once the water is simmering in the pan and then cover with a lid so the steam can cook the florets in about 5 minutes.
Again, with a steamer you have all the tools there so just set the timer to 5 minutes once the machine has been switched on to boil the water.
For the ultimate in taste you want to roast your broccoli as this really does bring out some fascinating flavours to the mix. You want to crank up the oven to around 425F and you need to have dry broccoli like you would during the sauté method, so if need be just miss out on the washing process so your broccoli is as dry as possible.
Spread the broccoli over some tin foil on a baking tray and then drizzle the florets with oil and toss them around the tray so they are all covered well. Add some sea salt to the mix and then let them roast for a good half an hour until you see the tips of the florets turning a golden brown or caramelized brown colour. The broccoli at this stage will be crunchy and ready to serve up to your guests as part of a dish, or if you fancy a quick snack then these moorish florets will do the trick.

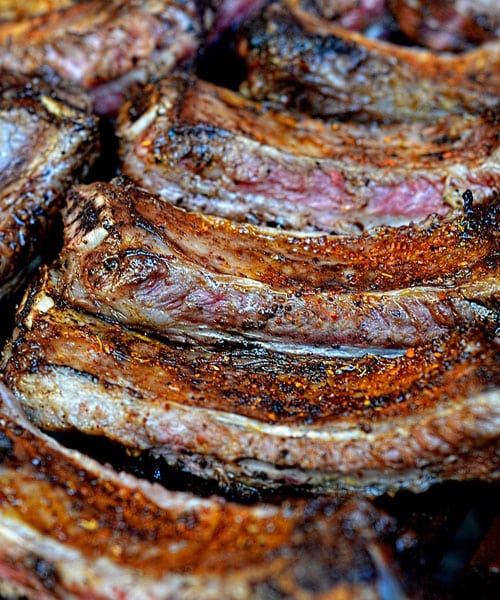
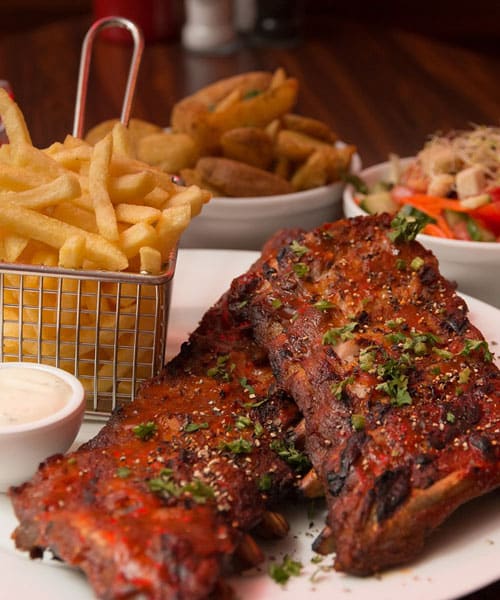
There is nothing more succulent and surprising on the taste buds than some juicy pork ribs, and believe it or not you can get the exact same taste and flavours by using your oven to that of using your outdoor BBQ. Let’s face it the weather can be as temperamental as it comes and a perfectly planned BBQ can often lead to desperate dashes indoors, but if you know how to cook the perfect rack of pork ribs indoors, then the party doesn’t have to stop.
There are a couple of ways you can cook ribs apart from BBQ’ing them, and the more popular ways tend to be grilling them or oven cooking them. What you will find with oven cooked ribs is a much tenderer and tastier end-product because the moisture is still very much locked into the meat. When you grill them you will find that they can be drier and not as tender, although there is nothing wrong with grilling ribs as you get a different texture and taste.
The other benefit to over cooking is that you can really marinate them with your choice of flavour, and this is where the BBQ taste comes from. Let’s show you how to oven-cook the perfect pork ribs.
First of all there are so many different flavours you can choose from here and it doesn’t have to be BBQ flavoured. You can go for sweet, spicy, or a mix of your own styled marinade the choice is yours.
For this example we are going for a sweet BBQ marinade.
Firstly take the ribs out of the fridge and season them on both sides with a mixture of slat and pepper, and be generous with this step. Once you have done this you can now put the ribs into a roasting dish and cover them up with foil. Preheat your oven to about 250F and once hot place the roasting dish onto the middle shelf and then let the ribs cook for about 2-2.5 hours.
Whilst the ribs are cooking you can now start preparing the marinade, so first things first you will need to get a saucepan, pour in some olive oil and then get that heated up.
Once hot you can chop up and onion, finely, and then drop this into the saucepan. Stir the onion around for a few minutes and then add in your mixture which will include ingredients such as ½ a cup of ketchup, 1 tablespoon of apple cider vinegar, 1 tablespoon of hot sauce, 2 tablespoons of brown sugar and some salt and pepper.
Stir all this together until the sauce has been made, and you are happy to use it as a marinade.
Tip: Make sure that when you are cutting up your onion that you dice it up thinly to avoid any chunks from appearing in the marinade as you want the sauce to be as smooth as possible.
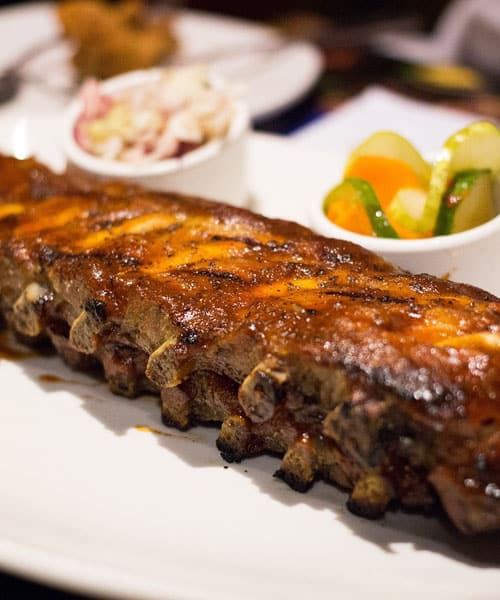
By now your ribs should be finishing up so take the roasting dish out of the oven and carefully pour the BBQ sauce over the rack of ribs making sure that each rib has been covered evenly. If not, use a brush to complete this job.
Place the ribs back into the oven for a further 5 minutes until the ribs are brown in colour and you can see the sauce bubbling on the top of them. Once finished take the tray back out and leave the ribs on the counter top in order for them to cool down and for the juices to redistribute through the meat.
Here’s the great thing about ribs, you can literally serve them up with anything you like (well almost anything). If you are feeling particularly healthy you can serve the ribs with some freshly cooked green beans, broccoli and fresh potatoes.
For the perfect summer time dish you can serve your BBQ ribs with a fresh and crispy salad, some boiled rice, or create your own homemade coleslaw which really compliments the taste of the succulent ribs.
If you have your BBQ mind on then you serve them up with some chips, and some rustic crusty bread and butter to really get your appetite going, or you could simply swap the chips for potato wedges which are sure to get your guests interest.
Or you could simply eat them as they come on their own which many people enjoy to do, simply save some of the marinade to one side and put it into a dipping pot so you can dunk your ribs are you eat them. Just make sure that you have some wipes at arm’s reach because it can get pretty messy when eating ribs that have been cooked like this!

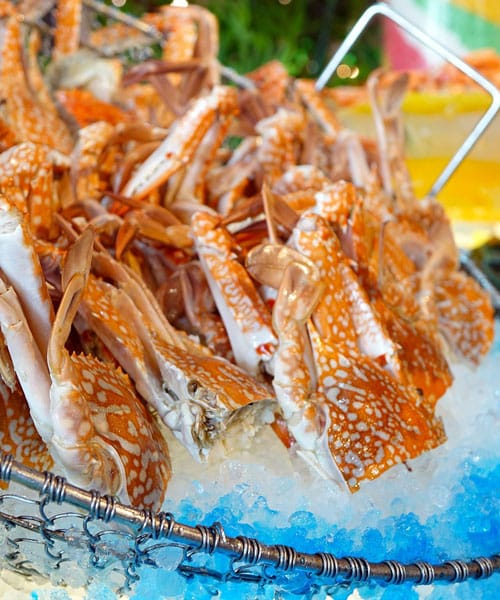
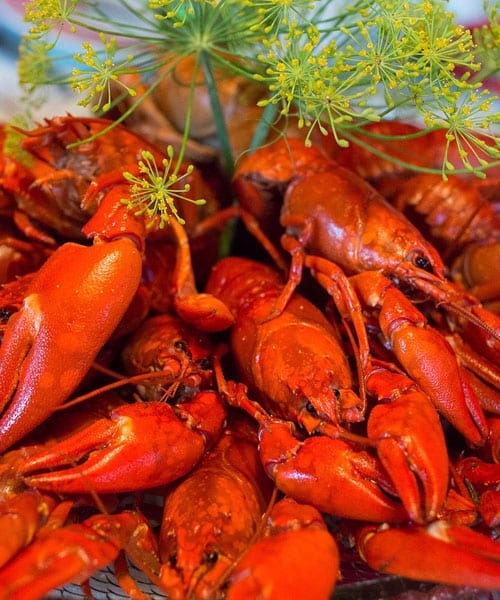
Crabs legs are a bit of a delicacy to many people especially those that don’t have the privileged to live near the coast where fresh fish is caught on a daily basis and sold to locals. However, did you know that frozen crab legs which you can find in most supermarkets and grocery stores are perhaps tastier than fresh crab legs?
You see most of these shop purchased crabs legs have been frozen straight away. Crab catching boasts have the facilities on-board to be able to cook them and freeze them instantly locking in all that fresh flavour. This is usually done because these type of fishermen are at sea for long periods of time so cooking them and then freezing them prevents any bacteria from spreading, and spoiling the catch.
There are two main differences you need to look for when buying crab legs.
No products found.
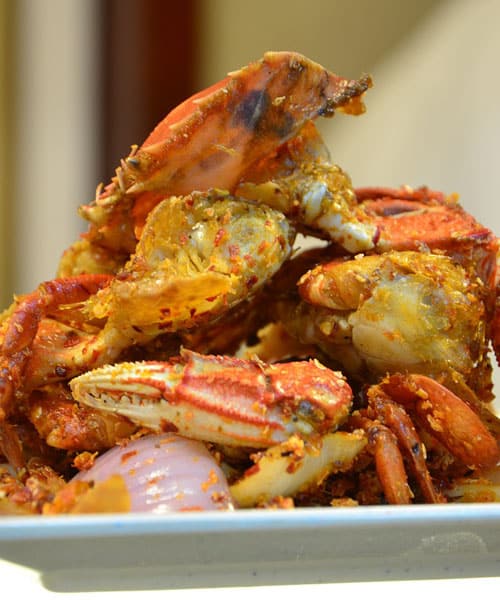
There are many ways you can cook crab legs but the best has to be boiling them in a nice large saucepan with some extra ingredients.
To start with you want to fill up a big enough saucepan with cold water, then add some seasoning. Usually salt, pepper, vinegar, lemon juice and even beers or ales can be used to give the crab a unique but amazing taste when you come to eat it. Now get the heat up to a high level, and at the same time get your crab legs washed under cold water before you add them to the boil.
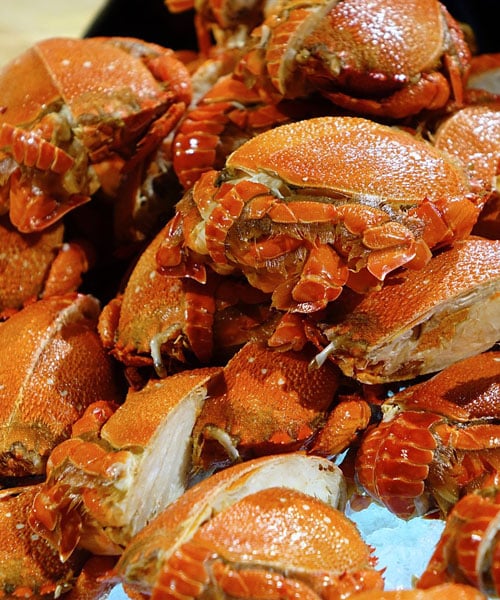
Turn down the heat when you see the water boiling and then drop in your crab legs for a good 5 minutes by which time the legs should be thoroughly cooked. Strain the water and take out the red/orange crab legs ready to eat.
No products found.
The second option which isn’t as popular as boiling crab legs is grilling them. Now, not a lot of people tend to use this method but plenty of people are known for grilling them. One thing you will find is that the legs will be much meatier than boiling them because of the lack of moisture in the cooking process. So if you want your crab to taste less fishy and stay hotter for longer because of the direct heat on the shells then this is the process for you.
Firstly, don’t bother oiling them first because at the end of the day the shells are hard surfaces so it’s pointless doing this as they won’t stick to the grill. Place the legs on your grill on a lower heat to begin with for around 8 minutes (again, dependant on the actual size of the legs as they can range from small to big). Once you have cooked them on a low heat for 8 minutes turn the heat up a notch so that you are running at a medium heat and cook them for another 5 minutes making sure that the thicker parts of meat are getting the most of the heat.
Once you have cooked the crab legs you should notice that they hold a nice orange or red colour to them, it is at this point in time that you can now take them off the heat ready to serve up to your guests.
Take note that crab legs do go cold very fast so if you are not going to eat them immediately then it’s worth wrapping them all up in some tin foil to keep the warmth in, or if you happen to have some kind of hot plate then use this so that they don’t go cold.
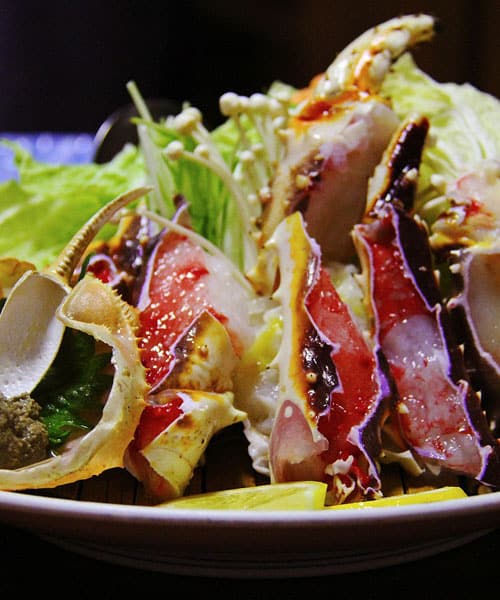
Eating crab legs on their own is great, there is no doubt about that but sometimes adding other ingredients to your plate really compliments the crab legs and makes for the ultimate dish to have a dinner parties.
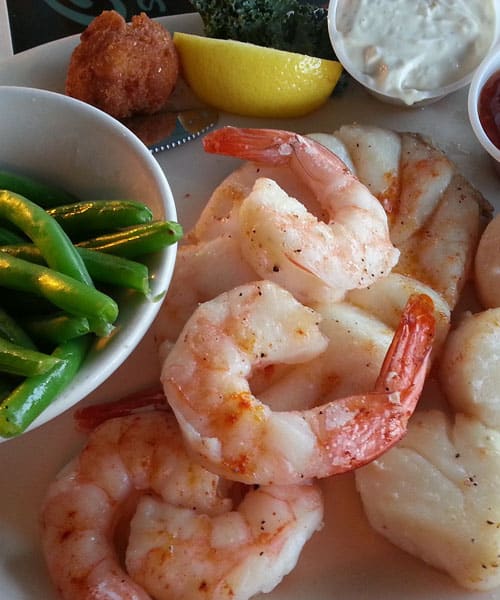
Aside from asparagus and the usual greens that you see on a plate you can make garlic butter sauce which goes well with most type of fish such as shrimp. They can be served with fresh potatoes to make an exquisite dish for your dinner guests.
If you are also looking for a drink to have then almost any type of fish goes well with a good bottle of wine. For crabs legs you want to match them with a chardonnay, pinot gris or a dry riesling. All of these tend to give a vibrant taste that works very well with crab legs.

We have said it before, cooking fish puts the frighteners up many keen chefs and amateur cooks because if there is one thing you want cooked properly its anytime of seafood, or you are going to know about the consequences of undercooked seafood!
However, what people don’t realise is that most seafood is so easy to cook, and usually doesn’t need a lot of knowhow to do. Many cooks tend to overcook scallops and shrimps because they don’t realise that it takes a few minutes for them to reach their optimal cooking temperatures.
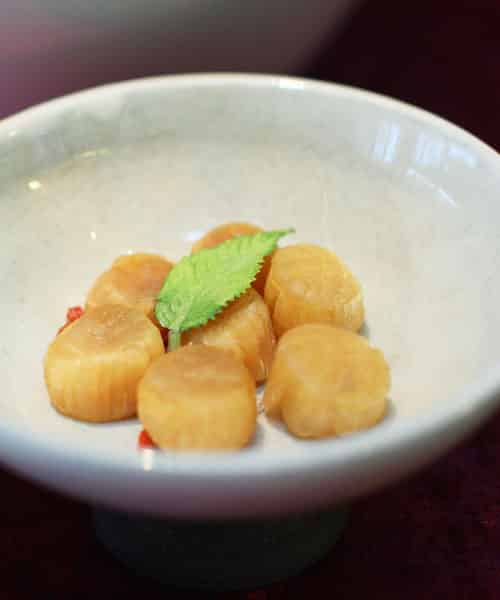
If you are about to hold a dinner party and want to woo your guests with some sublime home cooked scallops then look no further. We will show you everything you need to be able to cook the perfect scallops right here, so without further ado let’s get stuck in, and get cooking.
One of the main reasons people are scared of cooking scallops is because they don’t come very cheap, in fact you can be prepared to pay anything from $20 – $30 for a pound of the luxury food so getting it wrong can be a hard thing to take.
However, as we mentioned above, and with most fish like this you have to remember that they cook quickly so you need to be on top of that. If time is at the forefront of your mind that $20 is going to pay off with a great meal.
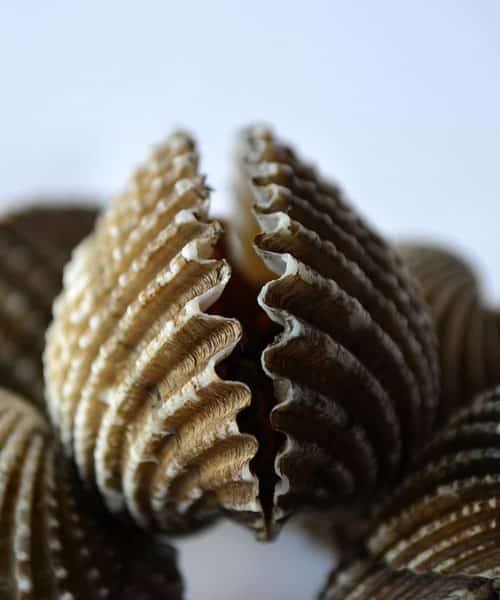
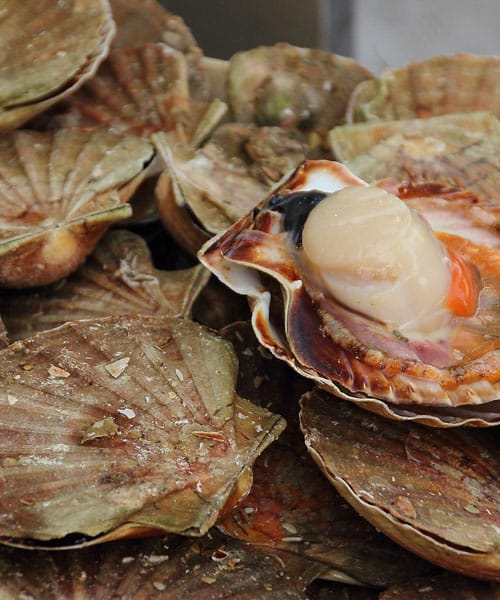
Firstly, you need to prepare your scallops and you do this by removing the muscle tissue that secures the scallop to its outer shell. Use a knife to do this, or pull them away with your fingers. Try to pull off each of the joining muscle tissues if you can as it makes for a more pleasant dining experience as the muscle tissue once cooked it quite chewy.
Now you have completed this step it’s time to season your scallops, so grab some black pepper and sea salt and sprinkle the scallops with the seasoning before you head to the cooking stage.
Take out your pan and turn up the heat to medium-high, you can use either olive oil or butter to coat the bottom of the pan this up to you but butter does tend to give the scallops more of a taste than oil does so it might be worth trying out both at some point to see which is better suited to your taste buds.
When the oil or butter starts popping your scallops are ready to go into the pan, make sure that there is no overlapping here. Space the scallops out in the pan so they each have a good bit of room to cook in.
Now your scallops are cooking away in the pan we are brought back to that all important aspect of time. You want to cook them for about 2 minutes on the one side, and then turn them over to cook for a further 2 minutes on the other side. What you should have by the end of this is both sides sporting a nice golden brown colour which means that the scallops are cooked right the way through.
Some other tell-tale signs that the scallops are cooked are that the sides should look opaque and firm to the touch. If you have lost track of the time and overcooked your scallops then what you will see if that they may be tough and chewy.
Once cooked take them off the heat and get them to the serving table straight away so your guests can took into them.
If you really want to wow your guests with fine dining then scallops go very well with pasta, and a lemon juice squeezed over the top. The pasta compliments the scallops and also helps fill up your guests at the dinner table. Remember that usually a pound of scallops will give you in the region of 6-8 scallops depending on the size of them so if you are feeing 4 people then you are going to need a good 2 pound of scallops which could see you paying anything from $40 – $60, unless you can find them cheaper.
The final tip that we will leave you with, is not to rush into cooking your scallops. As scallops are best served immediately after cooking and because of the little time it takes in actually cooking them, these should be left right up until the end. So get your pasta and all other ingredients cooked and ready before you begin cooking your scallops.
As the scallops take less than 5 minutes to cook it also means that the rest of the dish should still be at a good temperature to be able to serve.
There you have it, the perfect scallops.

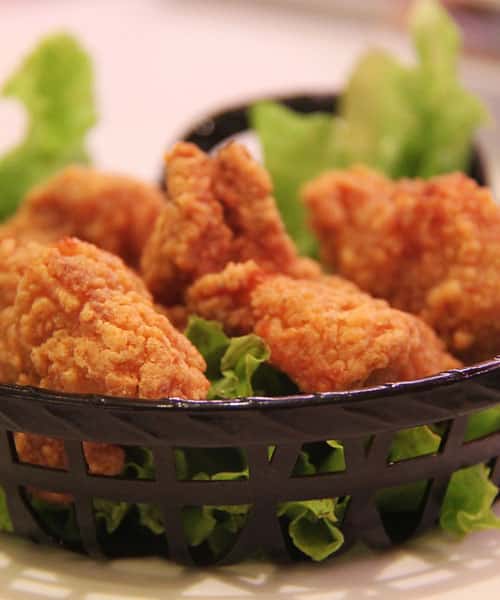
Chicken is a meat that is popular right across the world, its versatile and can be cooked in many different ways as part of a variety of wonderful tasting recipes. However, one karma that has always bothered novice cooks is the aftermath of eating a piece of chicken that hasn’t been cooked properly, and as we all know this can lead to some nasty bouts of void poisoning. Due to this, many people tend to overcook the chicken so it’s dry and tasteless, in an effort to be safe than sorry.
The main thing you need to get right with chicken is cooking it properly, and we are going to show you a number of ways that you can cook it, and what to look out for.
The first step we need to take in order to get the chicken ready for cooking is to wash it, and this is an important step many of us tend to forget. When handling chicken you should always remember to wash your hands after handling so you don’t cross-contaminate anything, this includes anything else that comes into contact with the chicken such as your knives, chopping board and sink.
Now your chicken is ready to be cooked, so the last point you need to remember is that the chicken should reach a temperature of about 165F which is the optimum cooking temp for chicken.
Everyone’s favourite way of cooking tends to be the sauté option so we will start with this first. To give your chicken a great taste you can create a coating for it. To do this you will need to whisk together some flour and black pepper, then you will need to coat the chicken in it by sprinkling it over your chicken breasts or drumsticks.
Get your pan ready and use either cooking spray or oil to line the bottom of the pan, and then turn up the heat to a medium level. Once the oil has become hot you can place the chicken in the pan, but make sure that you don’t cram the pan so the chicken is overlapping. If you have too much chicken then just repeat the process twice otherwise you will be left with uncooked parts.
Usually a good 7 minutes of cooking on either side of the chicken breast is sufficient to get the heat throughout the entire chicken breast. Once both sides of the chicken are golden brown you can remove them from the pan and set them aside for roughly 10-15 minutes before serving them up.

Creating the marinade is probably the most exciting part to this method, because nobody really eats chicken as it comes. Firstly, get yourself some sealable bags, or zipped bags that you can place your chicken into. Then using a mixing bowl you can prepare your marinade, whether you want a spicy one, a barbeque tasting one of something different you can mix it all together in the bowl and then pour it into the bag.
Be sure to give the bag a shake, or turn it around so that the marinade completely covers all the chicken inside.
Now you can either choose to grill or oven cook your chicken. If you want to oven cook it then you can place the bag on a baking tray and cook it for around 30 – 40 minutes, then leave the chicken to rest for a further 15 before you unzip the bag and serve up the delicious dish.
If you are going for the grilling options then empty the chicken from the bag and place it on a preheated grill, you will need to rotate the chicken every so often so that both sides are cooked to an equal standard. To get the chicken crispy you need to place it along the grill marks, for a juicy finish place it diagonal against the grill marks (this method gives you those fantastic grill lines that runs across the chicken breast).
Remember that with any way of cooking chicken to always look for that 165F temperature, so if you don’t have a cooking thermometer then we suggest you buy one as they are very cheap online or down your local store.
Once the chicken is cooked take it off the grill and set it aside on the counter top for a further 10 minutes before you serve it up. The marinaded chicken will taste great for your guests and by adding a few corn on the cobs you have a bright and vibrant dish that wouldn’t look out of place in Gordon Ramsey’s kitchen.
Just be sure your chicken is cooked, and your dinner guests should have a great time.

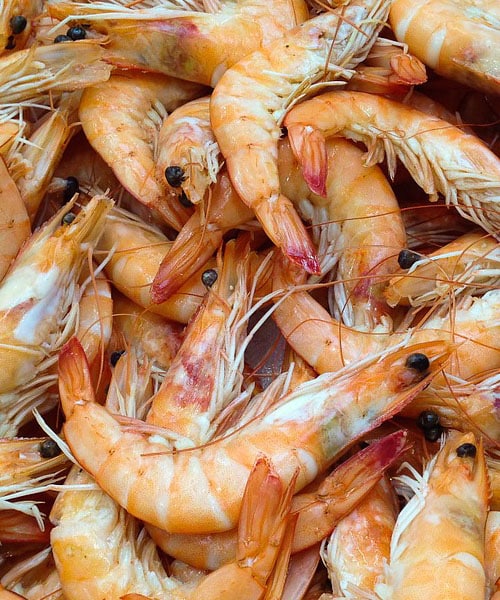
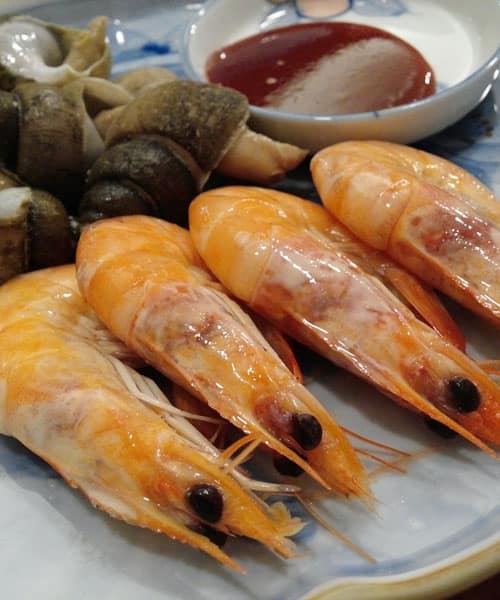
When it comes to cooking fish many people get spooked out because they worry that they are going to undercook it and make themselves or their guests ill. The truth is when it comes to cooking shrimp you can’t really go wrong as its one of the easiest things to cook.
However, one thing we must alert you to before cooking shrimp is that they tend to go off very quickly, and you should really be cooking them within the 24 hours of buying them from your local fishmonger or grocery store. If you have any doubts then buy frozen shrimps as you will be ok with these. Above all if your shrimp are beginning to give off an ammonia type smell then get rid of them as you don’t want to take the chances of being bad from them.
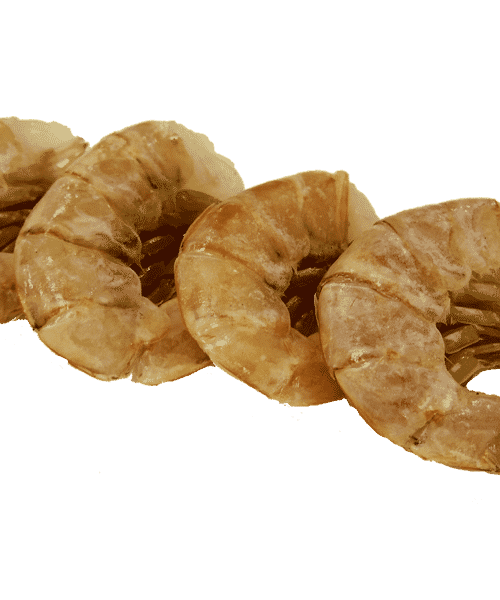
With that all said, you should also be careful when defrosting the frozen shrimps. The easiest way is to place them into a cold bowl of water, place the bowl in the sink and keep the tap running slowly and your shrimps will take literally minutes to defrost. Never take them straight to a pan as they will cook unevenly and there is no need to use a microwave.
There are 3 main popular ways of cooking shrimp that we are going to guide you through here. The first is boiling your shrimps.
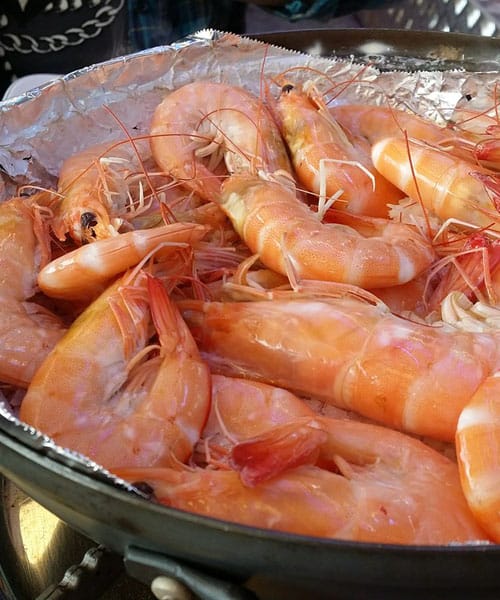
After you have defrosted your shrimps which we showed you in the first couple of paragraphs in this article you will want to place them into a large saucepan that has been left to reach a rolling boil on high heat. You can cook them peeled or unpeeled there is no real difference at this stage.
Cook the shrimp for about 2 minutes or until you see small bubbles rise to the surface and then take the saucepan away from the heat and leave it on the counter. The heat that is in the saucepan will now cook the shrimp and you will see them turn a pink colour. This stage can take anything from 5 minutes to 10 minutes just depending on the size of the shrimp you are looking to cook.
Grab yourself a sieve and drain the water from the shrimp and then serve them up.
The second method is to grill the shrimp which will give them a real fantastic taste. You can either grill them individually or skewer them to make the process easier. Just make sure that if you aren’t using metal skewers that you bath the wooden ones in water so they don’t start burning under the heat of the grill.
Coat the shrimps with some olive oil, you can do this by hand or with a brush and then season them with salt and pepper if you wish.
Place them under the grill and cook them for about 4 minutes on each side or until they turn pink in colour, when they turn pink you know that they will be cooked.
Leave them for 5 minutes on the counter and then serve them up.
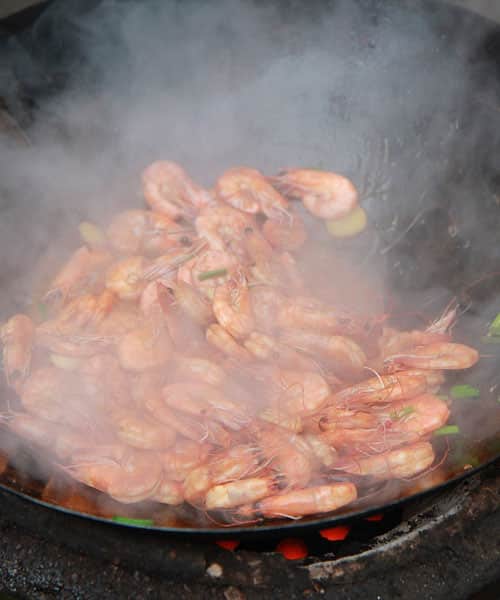
The final and everybody’s favourite way of cooking shrimp is to sauté them, and again you can do this with shells on or shells off its up to you.
Firstly, add some olive oil to a skillet and then heat it over a medium heat until the oil is hot and the shrimps are ready to be added. You can add some salt and pepper to your shrimps as you throw them into the pan, and you can even add some crushed garlic if you want to experiment with different flavours.
Generally you will want to cook the shrimp for about 3 minutes, and you want them to have enough room in the pan so all shrimps are touching the bottom of the skillet. Once the one side has been cooking for about 3 minutes you will then want to flip them over so the top side can cook for a further 3 minutes.
The shrimps will start to turn pink in colour and you will notice that the flesh will become opaque; this is when you know the shrimps are cooked and ready to be brought away from the heat. Again, leave them on the counter for around 5 minutes and then serve them to your guests.
Everyone has their own way of cooking, when it comes to taking the shells off it doesn’t matter from a cooking point of view but you might want to take them off before you serve them to your guests (unless you want your guests to peel them). Usually cooked shrimp are easier to peel and many say that cooking them with shells on preserves the flavour.

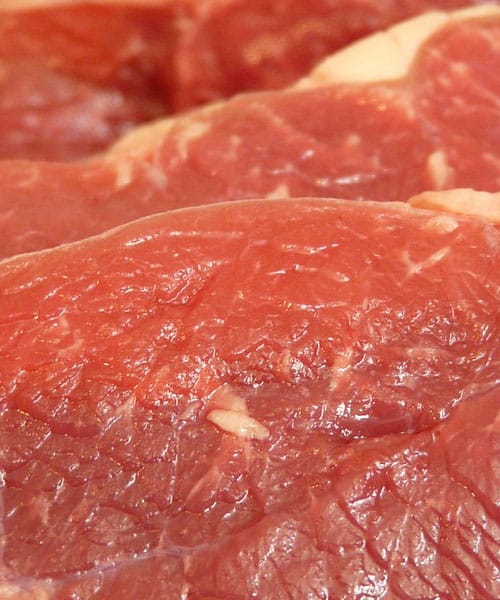
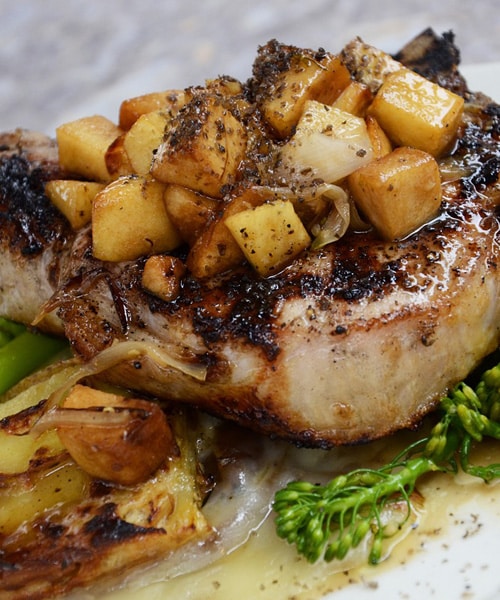
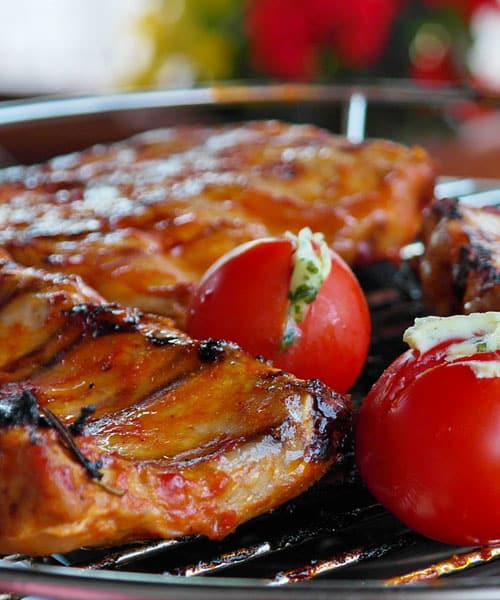
You wouldn’t believe it but the majority of people who cook pork chops get it wrong nearly every time, by overcooking them. Not only that but they take them right out of the fridge and into the pan which is a big no! You should always let your pork chops sit on the side for a good half an hour before beginning to cook them. The simple reason being is that the pork chops will overcook on the outside if it’s too cold.
So you first tip to cooking pork chops correctly is to let them rest on the counter, this will reduce the chances of you cremating the outside.
However, there are more top tips that we would like to offer you when it comes to cooking pork chops.
The biggest problem we face when cooking pork chops is that they dry out fast and you are left with a pretty woeful looking bit of meat. What you want is a nice and juicy pork chop that surprises your taste buds and leaves you with a great experience.
Cooking on a medium heat is the best way to do this, or start on a high heat to get that moorish golden crust, but then bring the temperature down as soon as the crust starts to golden up. Keeping a medium heat right the way through the cooking process will allow the outer part of the chop become tender while the centre gets to the correct temperature for the perfect pork chop.
What you also need to take into account is after the chop has been cooked, because far too many people cut right in and start eating. Don’t!
Just like you left the pork chop on the counter for a half an hour before cooking it, you want to leave the chop a good ten minutes after it has been cooked. What this does is allow all those juices inside to redistribute across the pork chop to give it that fantastic taste. If you cut right into the pork chop as soon as it comes out of the pan then you are going to let the juices run onto the chopping board and those beautiful tastes will run away with the juices.
No products found.
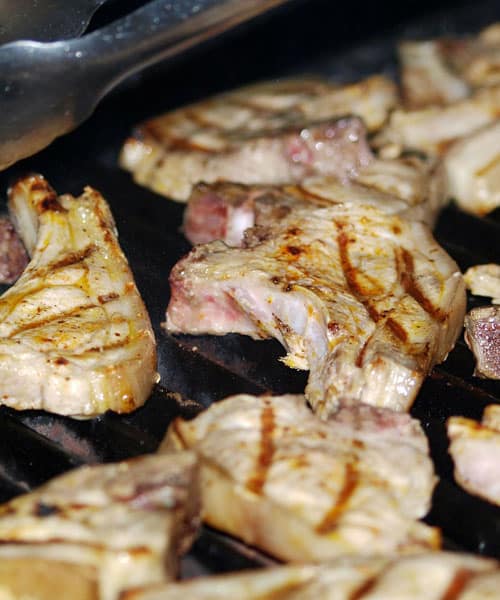
Like most meats, there are a variety of different ways to cook them. Some of the ways are fast, some are slow and nearly all leave the pork chop with a different taste. One of the best ways is to skillet cook them and then transfer them to a preheated oven to finish the job off.
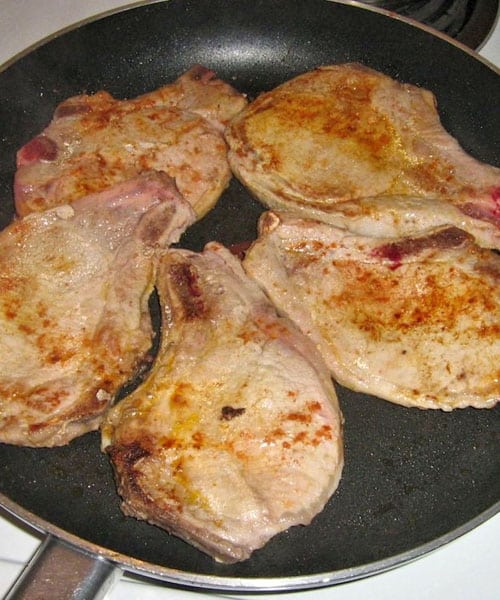
Get your pork chops and rub both sides with a little olive oil and then season with salt and pepper. Now lay the pork chops on an already preheated skillet on the oventop, and turn the heat up high to give that golden crust. You will only need to do this for 30 seconds before bringing the heat down to medium.
Usually a good 3 minutes each side is all you need here before we transfer them to the oven. You want to see a golden finish to each side of the pork chops, and if you get a bit of smoke don’t worry that’s fine but turn the heat down if the smoke becomes too much.
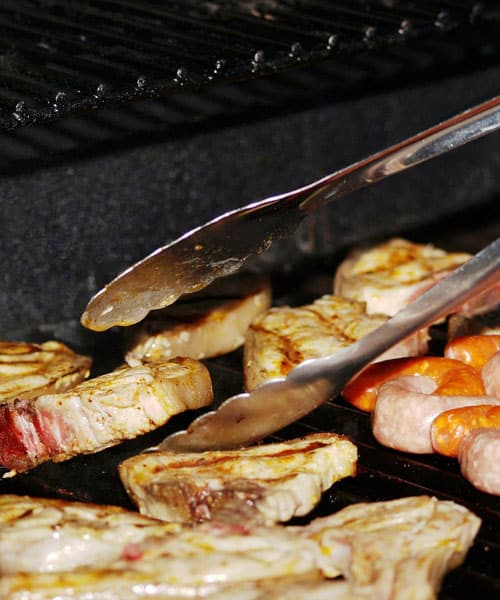
You are now ready to transfer them to the oven for the final part of cooking. Now, cooking time varies depending on the thickness but if you have a thermometer then you are looking at a temperature of 145F at the thickest part of the pork chop. Usually an additional 6 – 10 minutes of cooking time in the oven is all you need here, so it’s worth checking the temperature at the 6 minute mark and then rechecking each minute until you hit the 145F mark.
As soon as they are cooked take them out and let them rest for the magical ten minute period before you get stuck in, we know its tempting but that ten minutes will make all the difference to the taste.
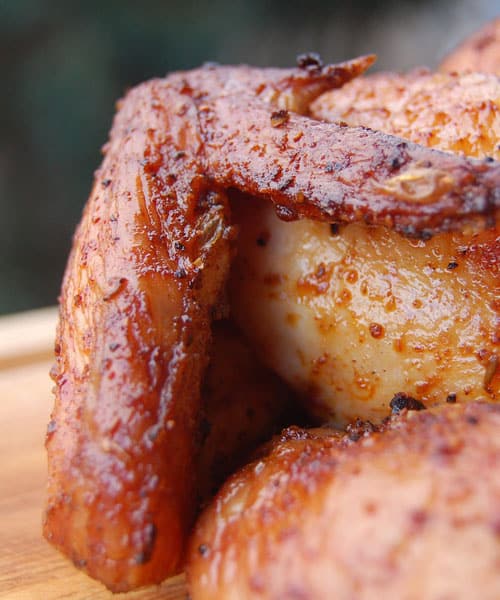
Once cooked you can now serve up the pork chops.
Before you even begin cooking them there are optional things you can do to experiment with tastes, one of those is to let the chops rest in a brine water with flavourings. Usually cold water, 3 tablespoons of sea salt and some crushed garlic cloves will enhance the flavour of your pork chops and provide a wonderful taste. You can also chuck in some black peppercorns and a bay leaf, or anything else that you think will compliment your pork chops. The choice really is yours here, and then you can begin the cooking process.