

Ham is a great tasting meat and there is so much that you can do with a ham joint once you have cooked it. Whether you are looking to add it to pasta dishes, rice dishes, throwing it in a salad, adding chips and peas to it or having it as part of a nice Sunday roast dinner, the possibilities really are endless.
What most people tend to make mistakes on when it comes to a big ham joint is overcooking it, and what generally happens then is the meat becomes tough, dry and very chewy. What you want to do is cook it to a level where the meat is juicy and tender. Our rule of thumb is that is it makes your mouth water when you take a bite, then you have done it right!
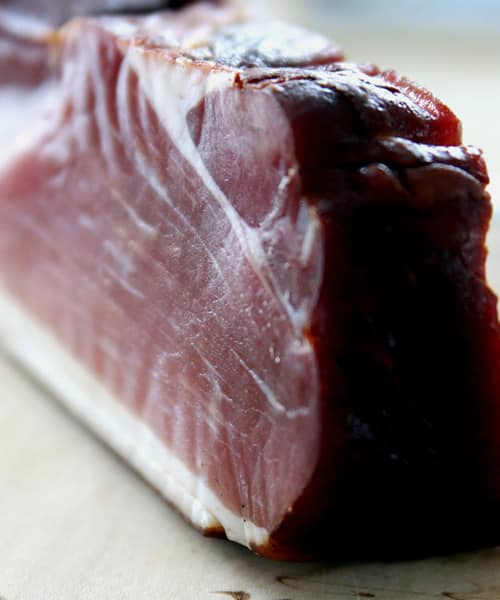
You are probably thinking now isn’t a cooked ham, essentially just gammon? But you would be wrong as gammon is what we refer to as the raw meat, where ham is when the meat has been cooked.
Firstly we want to do a few basic things before we begin seasoning the gammon and cooking it, the first is to soak the gammon in water to remove any impurities such as salts. Once you have done this you will need to know the weight of the gammon so that you know just how long to cook it for and when to take it out of the oven.
Now set your oven to the 450F mark so you can preheat it while you prepare the meat for cooking. During the preparation stage the oven will heat up to a level that is right to introduce the gammon to the heat.
The other method is to boil the gammon in which case you will need a large saucepan. Place the raw meat into the saucepan and then cover it with cold water and then bring that to the boil. At this stage you can begin to add you seasonings, and generally for ham things such as onions, garlic, peppercorns, bay leaves, or even cinnamon work really well at bringing the best out of the ham.
If you are using the oven cooking method then you will want to rub some oil at the bottom of a roasting pan, and then cover the outer part of the gammon with some extra virgin olive oil and the seasonings of your choice. The oil will make the skin of the gammon nice and crispy which some people really do like.
For the oven process you will then want to but the joint of meat into the centre of the oven and then turn down the temperature to 250F and let it cook for 30-50 minutes depending on the weight of the meat.
Once it has finished cooking at this temperature take the gammon out and let it rest on the kitchen counter for a period of 10-15 minutes. All this does is allow the juices to redistribute themselves around the ham joint increasing the tenderness and moistness of the ham inside. Place some foil over the ham joint at this stage to lock in the steam and heat.
If you have chosen the boiling option then usually you will cook the meat for around 30 minutes for each 1lb of meat the gammon weighs in at. You can remove the ham from the pan once cooked for that period of time and then glaze the outer part with the flavour of your choice. Maple syrup and mustard is usually a particular favourite when it comes to this kind of meat. You can then place the ham into the oven at 250F for another 20 minutes to give a golden finish to the ham.
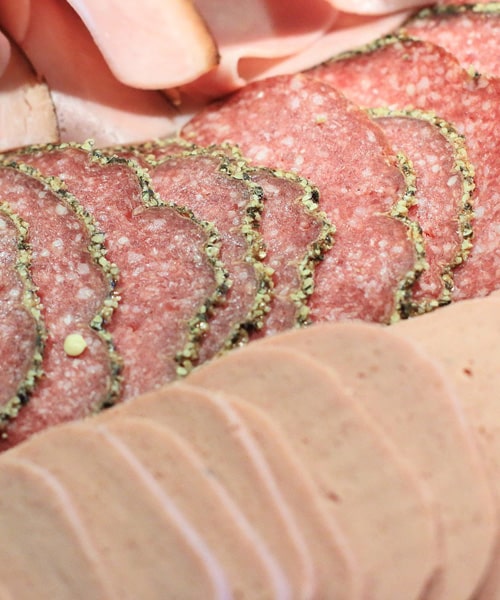
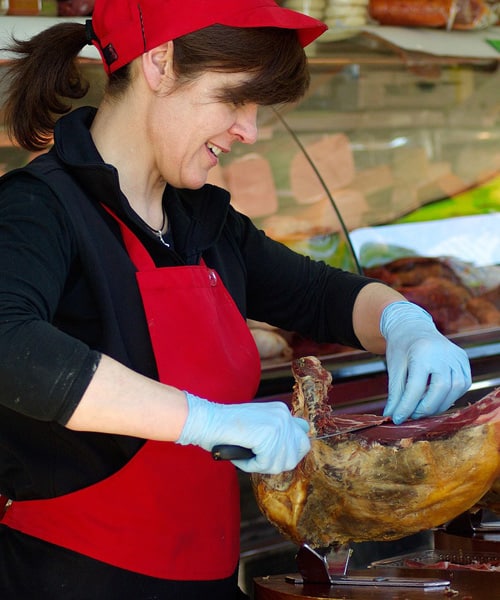
Once you have finished cooking you can then carve up the ham which can be used in a variety of different dishes. The obvious choice for gammon is to use it on the table at Christmas but you can also create a great Tagliatteli Carbonara with this chunky moist meat, and you can also add chunks of it into a nice summer salad if you wish.
The beauty of ham is that it can go with many kinds of different foods and used as part of many types of cultural cooking experiments so use your imagination here to see what it can go with.
If you happen to have any leftover meat than you can store this in the fridge for 3-4 days or you can chop it up and put it in a freezer bag where you can keep for a period of up to 3 months, allowing you to dip in and out of it overtime if you wish.